A collection of great ideas for feltmakers from Heather and Nancy
General Felting Tips
-
When laying your project down, leave at least a hands width of plastic/bubble wrap either sides of your project and at least three hands width at either end.
-
When wetting out your project, do not use too much soap, if there are bubbles everywhere it is too soapy. Wipe them away, sponge off the excess and apply clean water to re wet your wool. Too much soap will slow down the process, the fibres will not be able to grip and the scales will not close.
-
When your work is wetted out and rolled up, an extra towel rolled around the outside will make it easier to grip for rolling.
-
It’s easier if your project will fit on the table all at once, however if not, treat your work like a ‘scroll’ – rolling up the part you have finished and then working on the other unfinished part.
-
Think about saving time and energy by felting more than one scarf at a time. Lay out two scarves and roll in one bundle. Two scarves for the time of rolling one!
-
Always stretch your work in the fulling stage. Inbetween tossing pull the piece in all directions trying to stretch it back to size. This will give the felt better drape and encourages the fulling process.
-
Rinse all soap from your work when finished with clean tepid water. You may also like to then soak your piece in water with a few drops of Lavender, Cedar, Sandalwood or Eucalyptus oil. Do not rinse after soaking just spin out or squeeze the excess out and leave flat to dry. Your work will carry fragrant notes and repel moths.
-
You cannot unfelt a piece of work, but you can always felt it more. Re-wet your work and roll some more or simply return to the tossing stage. Old favourites may have relaxed since you made them and giving them a quick toss and stretch will refresh them.
- To make a firm and strong felt or to shape and shrink particular areas you can full your felt on a washboard or a convenient and less expensive second choice a plastic painter’s tray.
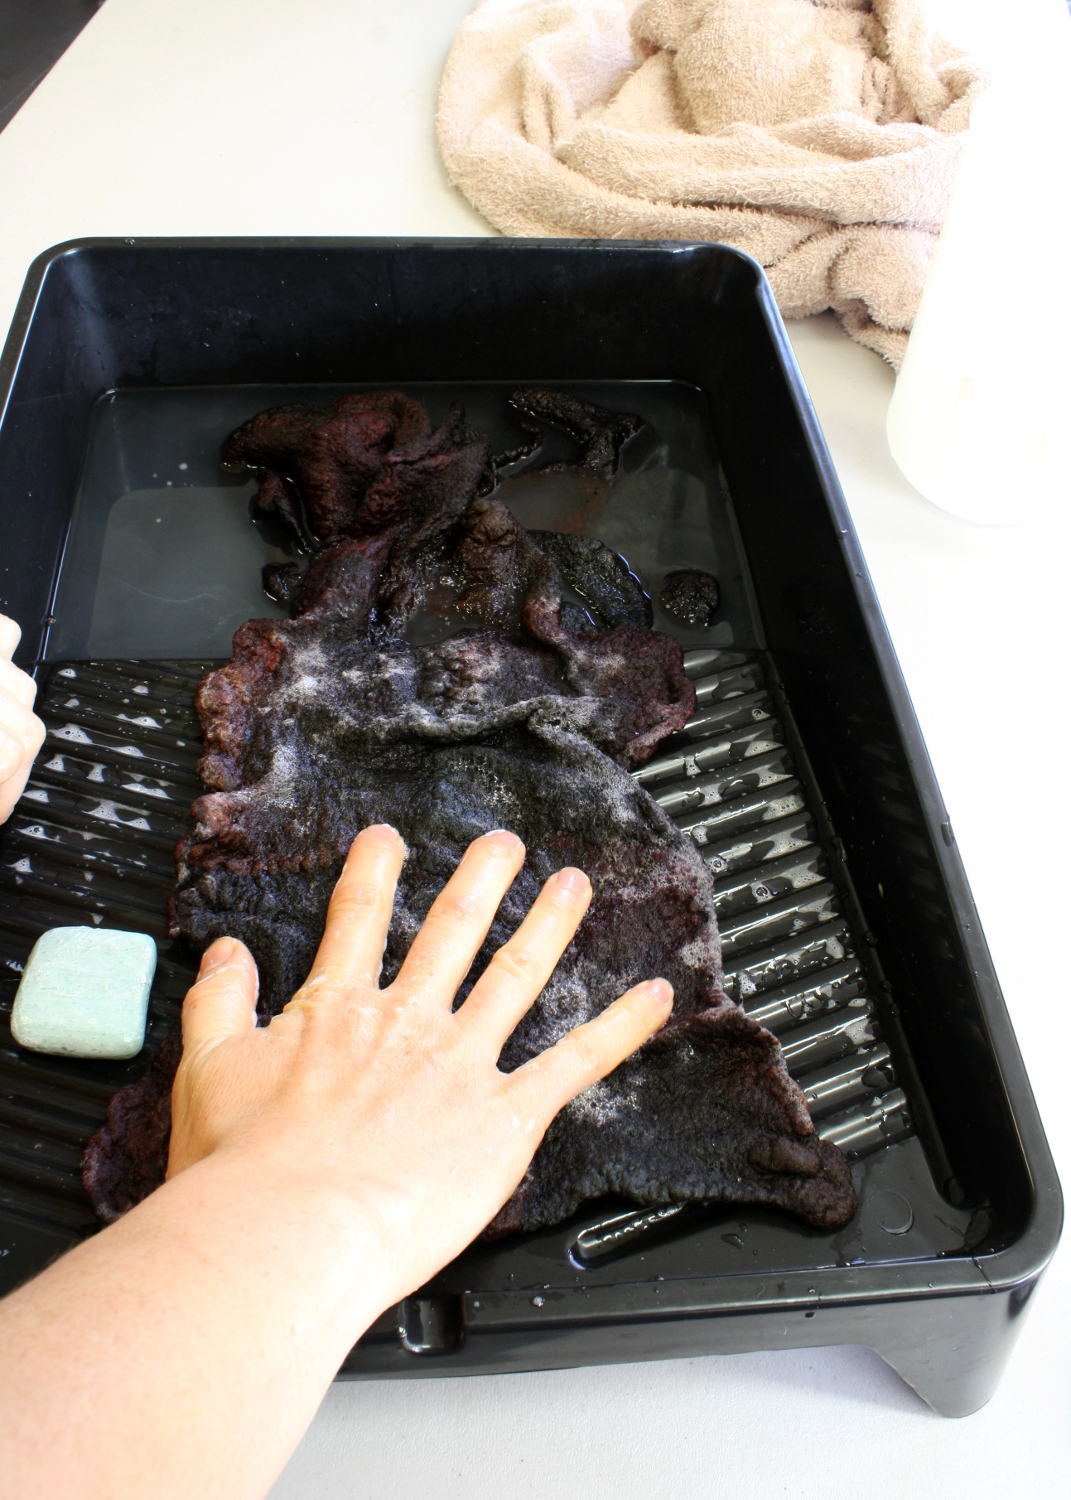
- You can also try the hard swimming pool bubble wrap, or the ridges on top of storage boxes. Or failing that the ridges on the drainboard of your sink. After tossing your piece to a sufficient stage, simply glide the work over the ridged surface with the aid of lots of soapy water. By gently gliding the felt over these textured surfaces it compacts and fulls the fibres considerably more than tossing. You can shrink a particular area of a felt piece by only fulling the one section on the washboard. Perhaps the sleeves are too long, the brim too big or one corner is just larger than the rest.
-
To lay a fine and even felt you should work with a smaller amount in your hand when laying out. Make the tops into several skinny lengths and lay smaller and thinner sections, with only the tips of the wool fibres overlapping. A few very fine layers will give you a lovely lightweight felt. A fine felt will shrink considerably. It is also a good idea to full your work on a washboard. A fine felt needs to be strong.
-
Always sample your work before attempting a big project. Measure before and after felting your sample to calculate shrinkage. To work out the percentage of shrinkage take the first measurement and divide it into the second measurement. For example if I layed out wool 30cm across and after felting it measured 18cm across, my shrinkage rate would be 30÷18=1.66. This means my piece shrank 33% in that direction.
-
If you know you want your final piece to be 125cm long you can multiply 125cm by the shrinkage rate. For example: 125×1.66=207.5. You would then lay out your wool to the length of 207.5cm, or near to it.
Nuno Felting Tips
-
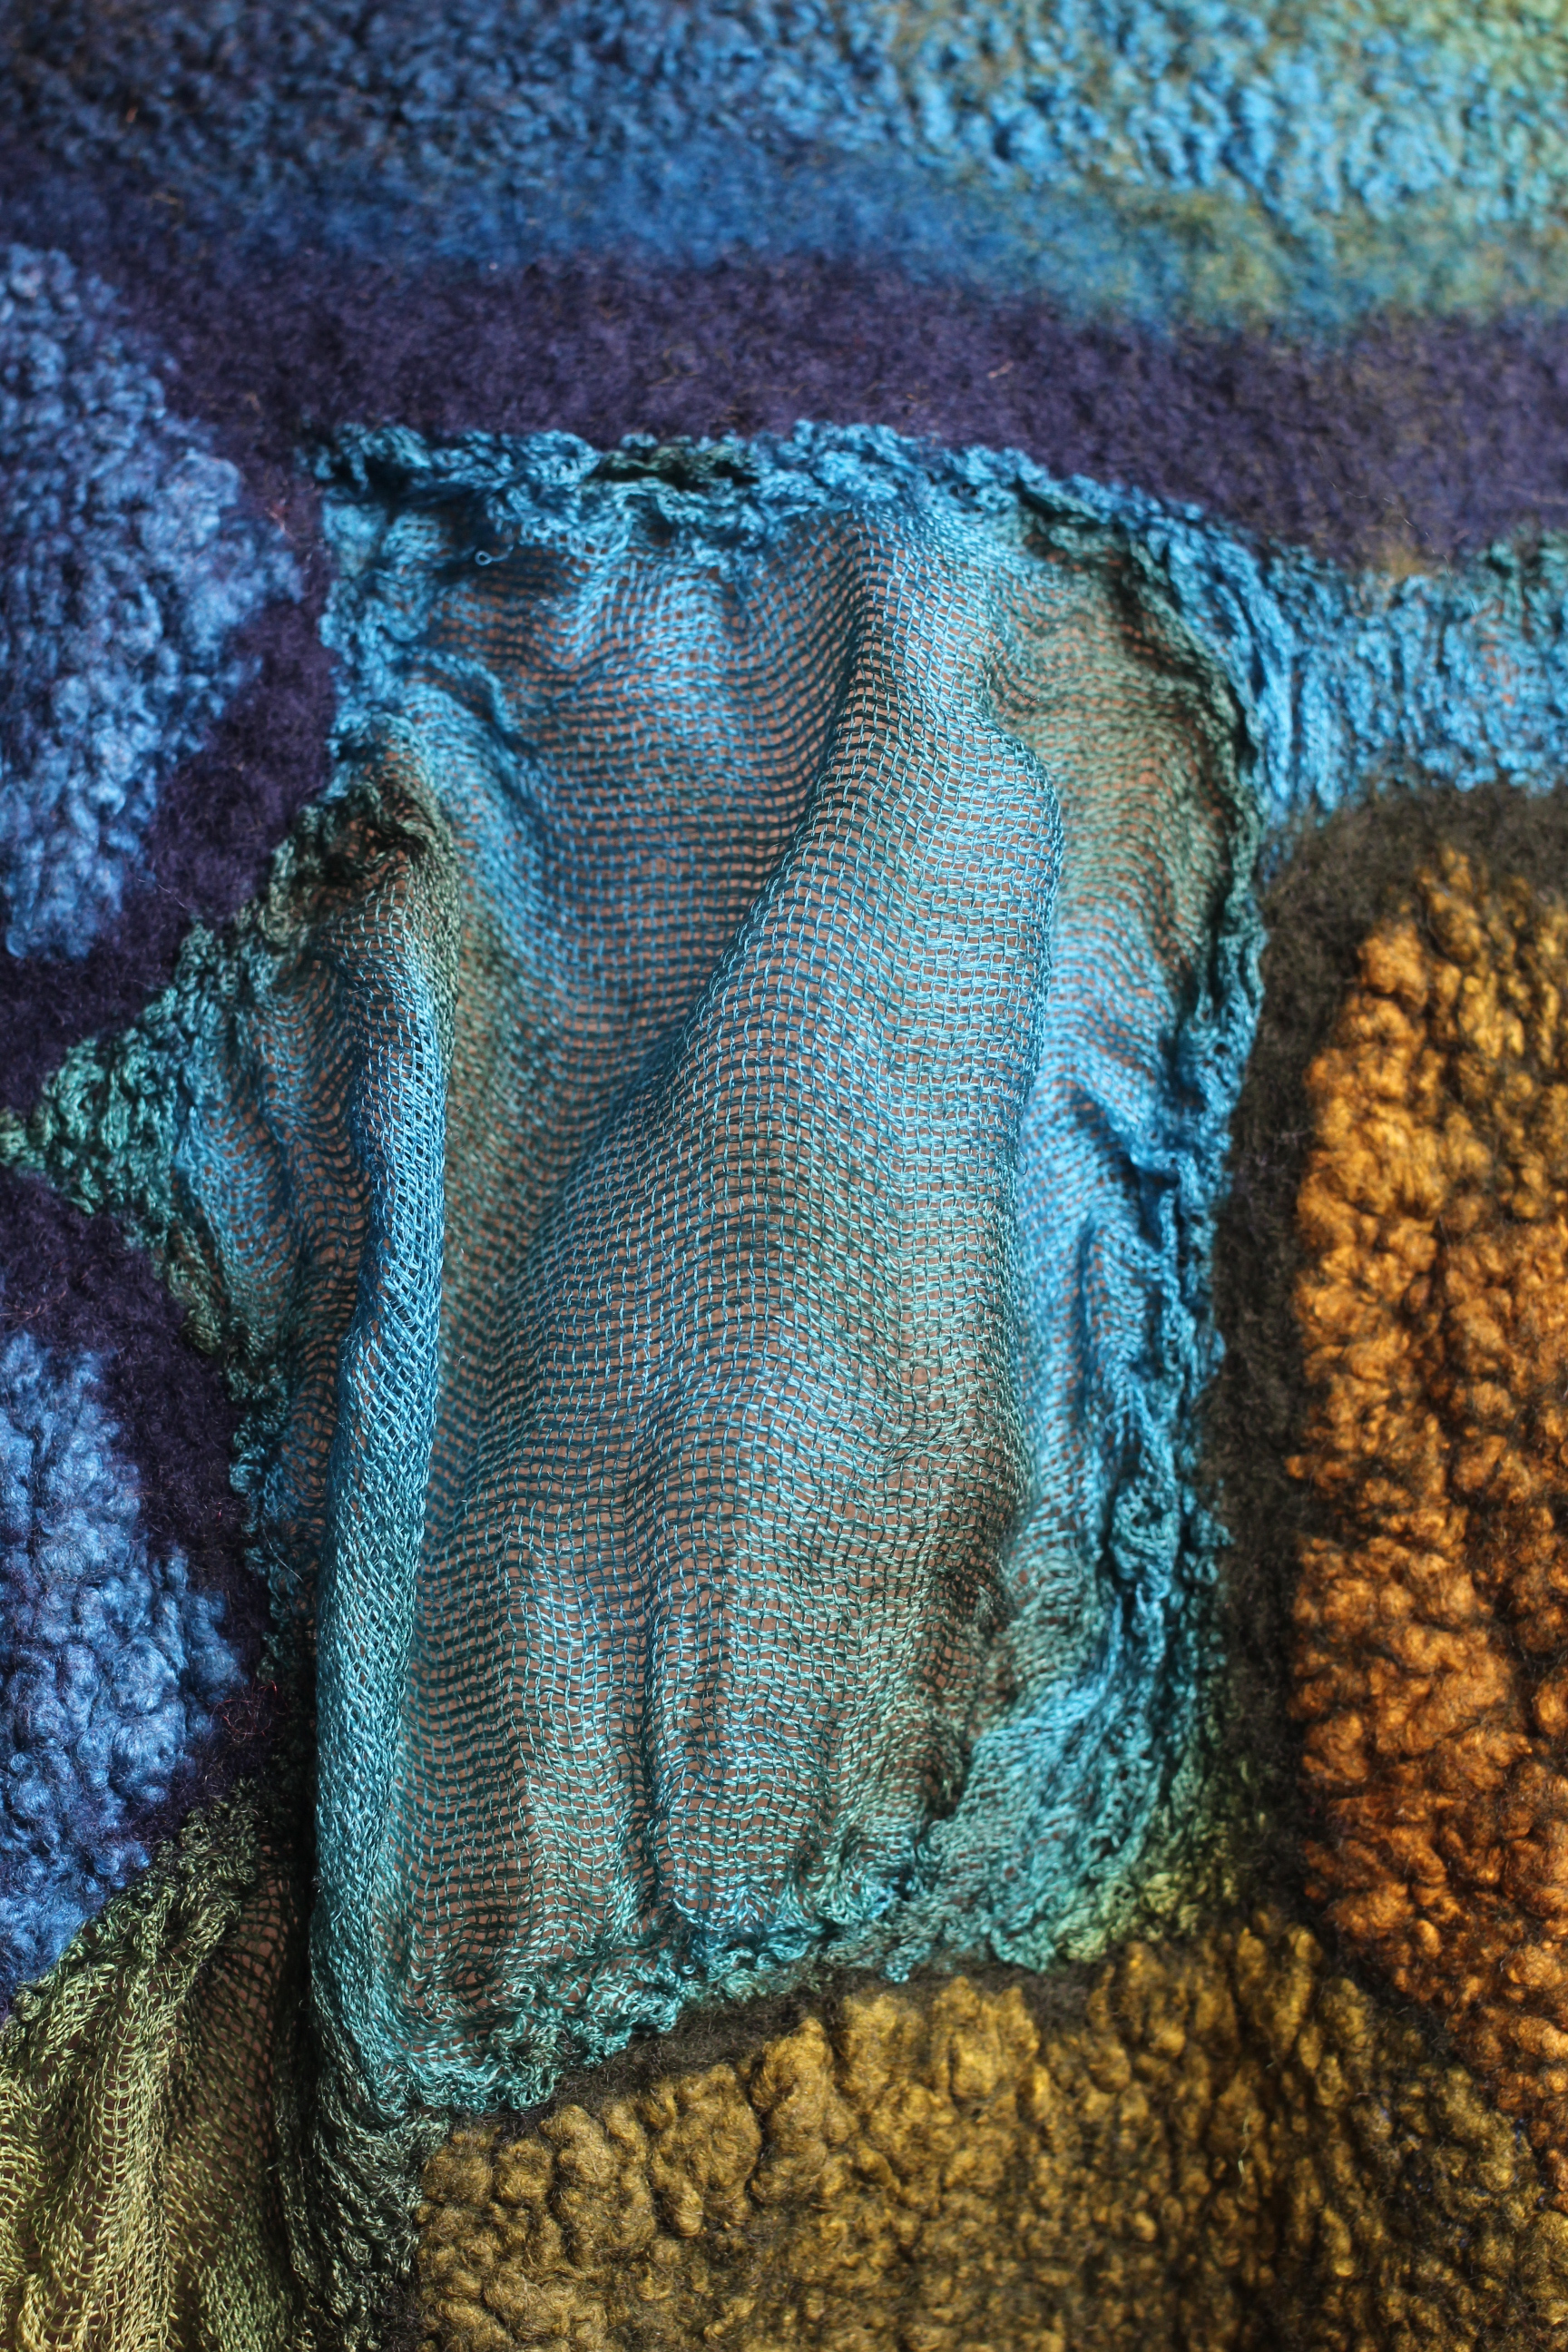
When incorporating fabric into your felt, (Nuno felting) start with cool water. This allows extra time for the fibres to integrate into the weave of the fabric before matting together.
-
After the wool has started to grab hold of your fabric, you can begin using warmer water to speed up the process.
-
Hot water is used in the final fulling stage. This encourages the shrinkage.
-
Use fabrics you know will felt in, or sample them first. You can sample many pieces at once, or you can put a small sample at the end of a project you are felting. You can count on natural fabrics like silk or cotton to be the easiest.
-
Fabric should have an open weave and you should be able to breathe through it easily. Slippery and shiny fabrics are difficult and often do not work. If you are determined to use a slippery shiny fabric you can try making small cuts or holes in it first. You could also use a felting needle or better still an embellisher machine to push the wool fibre through the fabric to get you started. A small amount of fibre needle felted to the surface will allow other wool fibre the chance to grab on and felt.
-
Sampling is a great way to see what works and what happens before you attempt your big pieces. Always sample fabrics you are unsure about. Sampling also gives an opportunity to try new ideas and techniques quickly. They are a good reference tool, and may inspire new ideas.
-
Small samples can also be used to create pin cushions, glasses cases, pencil cases, features on bags or diaries. Maybe hot plate grabbers, needle cases, purses, phone covers, or cut up and used to create pictures, badges and other jewellery.
Prefelt Tips
-
Pre felts are sheets of matted wool fibre, they have not been fulled and only minimal shrinking has occurred.
-
Prefelts can be made ahead of time and used in all your projects to make defined patterns. Interesting halos will appear around the edges of the cut out shapes.
-
Prefelts can be made wet or dry. To make wet prefelt simply start the felting process and stop when the fibres have matted together just enough to be easily picked up. As long as fibres can still be pulled out, it is a prefelt and can be felted further into fabric or wool base. You can also make Nuno pre felts.
-
I love using pre felts to create polka dots or florals. Nuno prefelts are really useful as well.
-
Dry prefelts can be made with plastic or using non slip matting. If you are using a non slip matt the process is very fast and you need to constantly check and correct your work. I use a yoga mat but most rubber matting will work. Avoid ones with open areas, they must have no holes as the wool will felt through it.
-
Using flat painters’ plastic is an adequate alternative but I find it difficult to roll.
-
To make a dry prefelt just lay your fibres down (Nuno or adding silk fibres is not recommended for this process) onto the matting or plastic sheet, pat down flat and roll up. Roll this 25 times and then unroll, check and correct your work and then re roll from the other end. Continue the rolling and checking stage every 25 rolls until you are happy with the firmness of the prefelt. The fibres may try to stick to the mat at first but persevere as it will soon matt together and be easily peeled off.
-
I love this technique, I can make prefelts and not worry about mess, as it is contained and uses no water.
Resist Felting Tips
-
Felt resists are used to make seamless 3-D items such as hats, bags or sculptures. Most people will use bubble wrap but plastic sheeting is also acceptable. Thick black plastic sheeting is okay unless you have sharp corners as these tend to push through your work. Glossy cereal box cardboard will work too but will not last as long. My preference is a thin foam, often used as a packing material for white goods. This thin foam can be bought at hardware stores as underfloor padding, a thin insulation before floor boards are put down. This thin foam is very flexible, does not have sharp edges and the slight thickness of it allows you to fold the edges of wool around the resist very easily and tightly.
-
To stop getting ridges on your resist piece, you need to fold the wool around the edges of the resist very tightly, wetting each layer as you go but not using so much water that it floats off. You should also be aware of how much wool you use along the edge, the thickness on the edge should be equal to the thickness of the middle. I only overlap the wool 2cm from the edge. Corners and tight curves should be eased in and avoid folds or excess wool in these areas. Take the resist out only when it has buckled so much it is unworkable. Then if possible turn inside out and continue rolling. If not work the inside with a small pieces of bubble wrap by hand. Roll your work in all directions, ease out the fold lines and stretch and shape as you go.