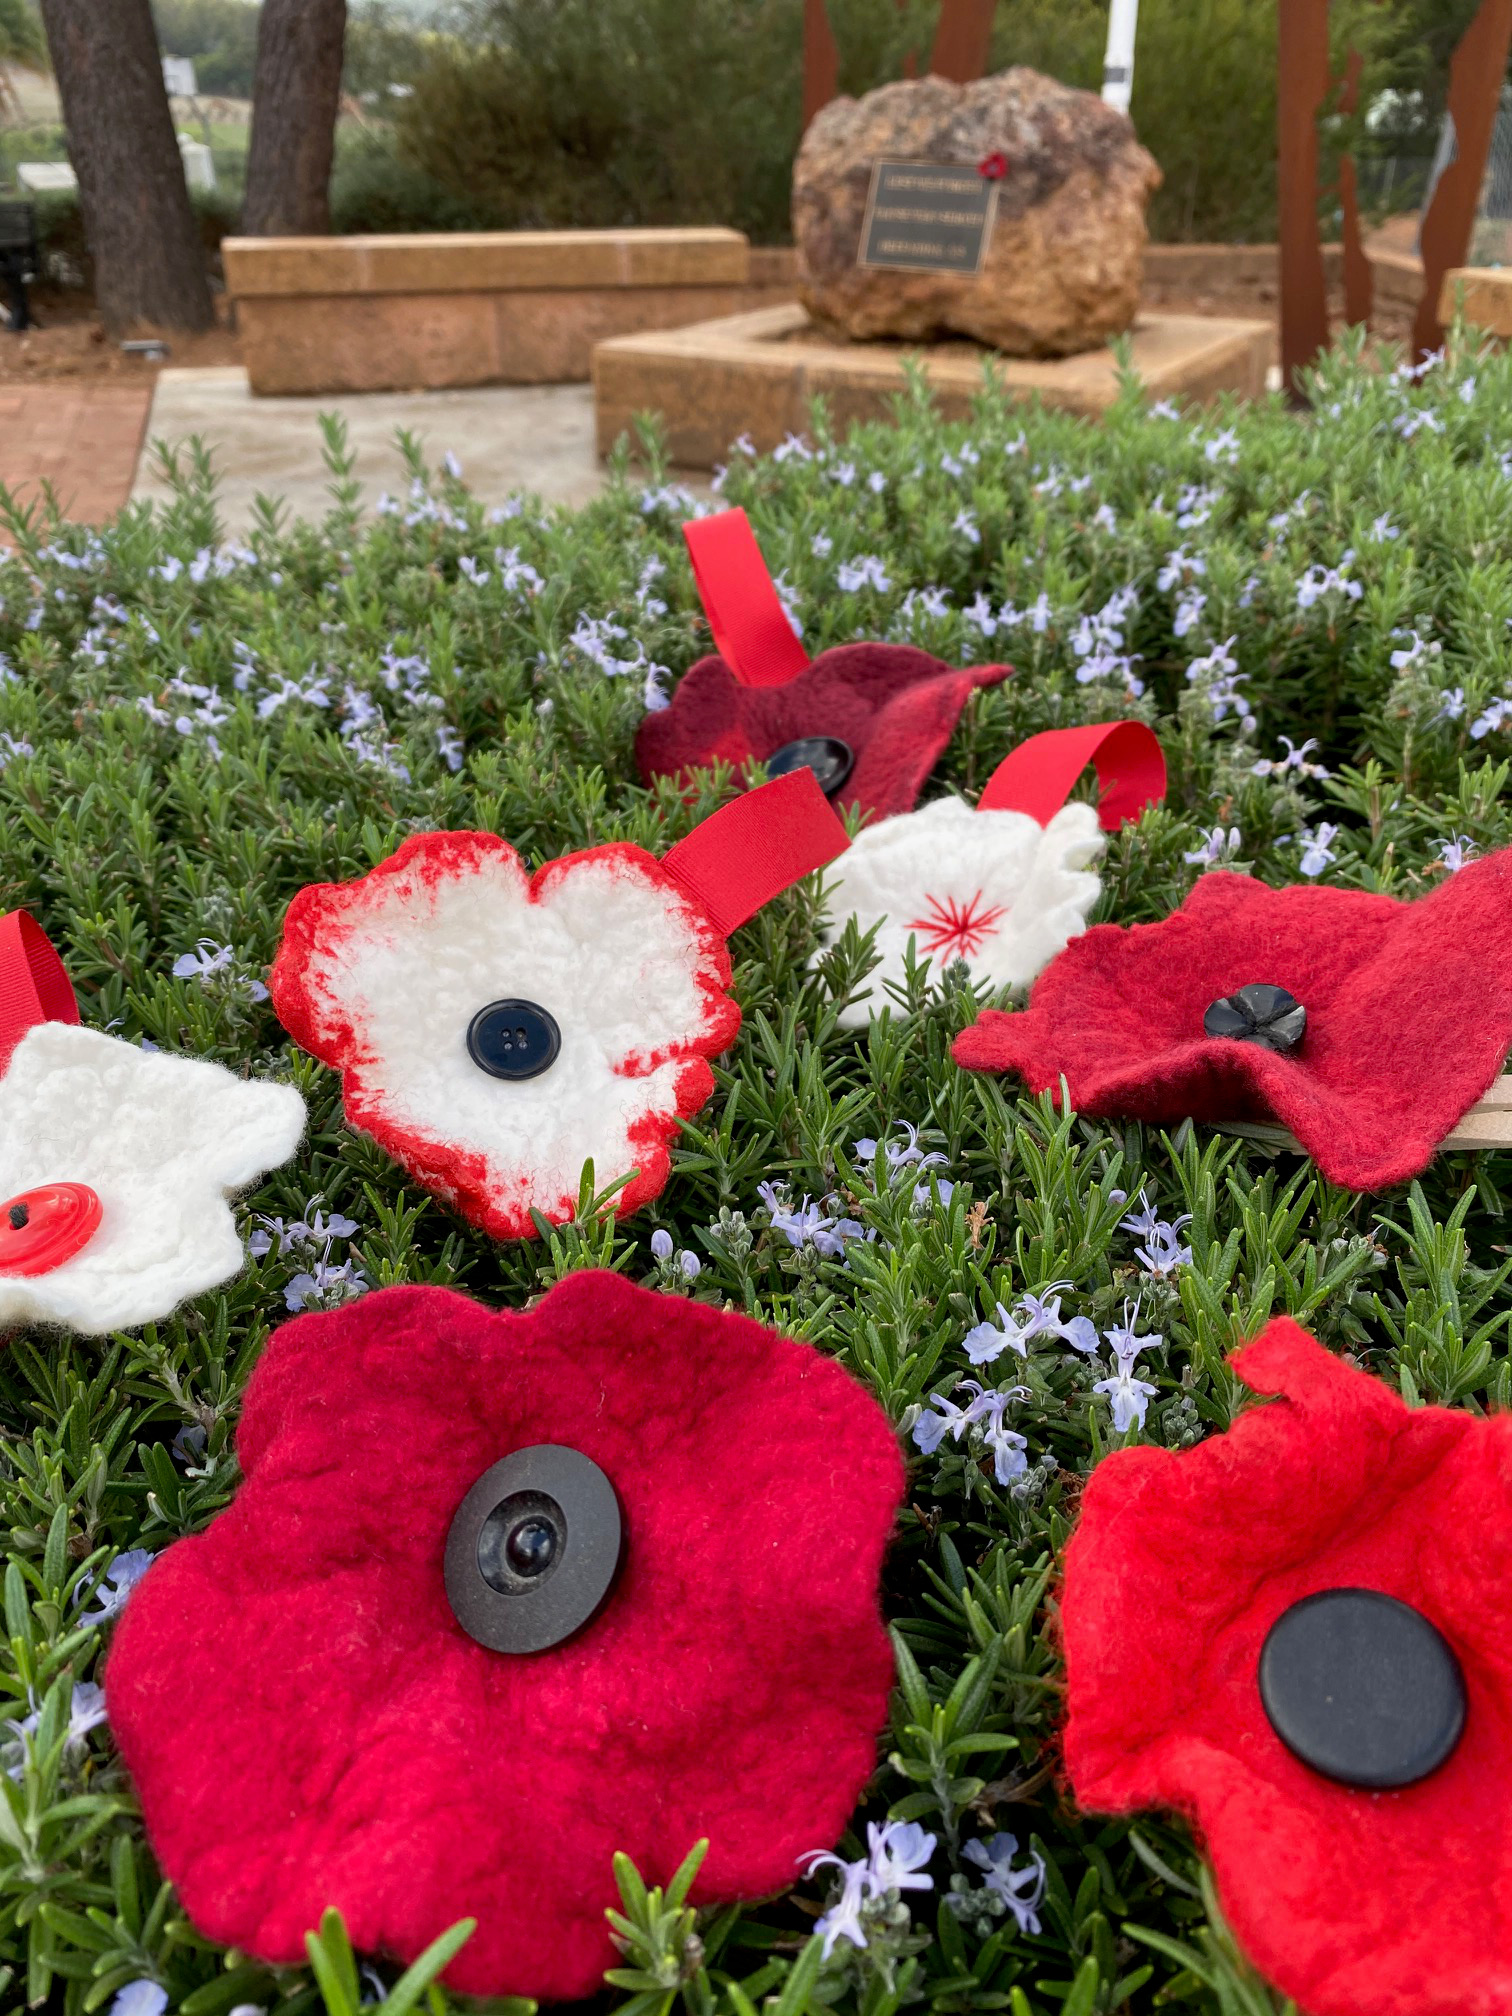
Honouring our ANZACs and Australian wool growers while keeping Covid-19 at bay
Follow these simple instructions to make your own poppy for remembrance. A great activity for kids while practicing healthy hand hygiene. A collaborative effort by 8 yr old Sam Freegard, Heather Davis and Nancy Ballesteros
Click here to download a PDF
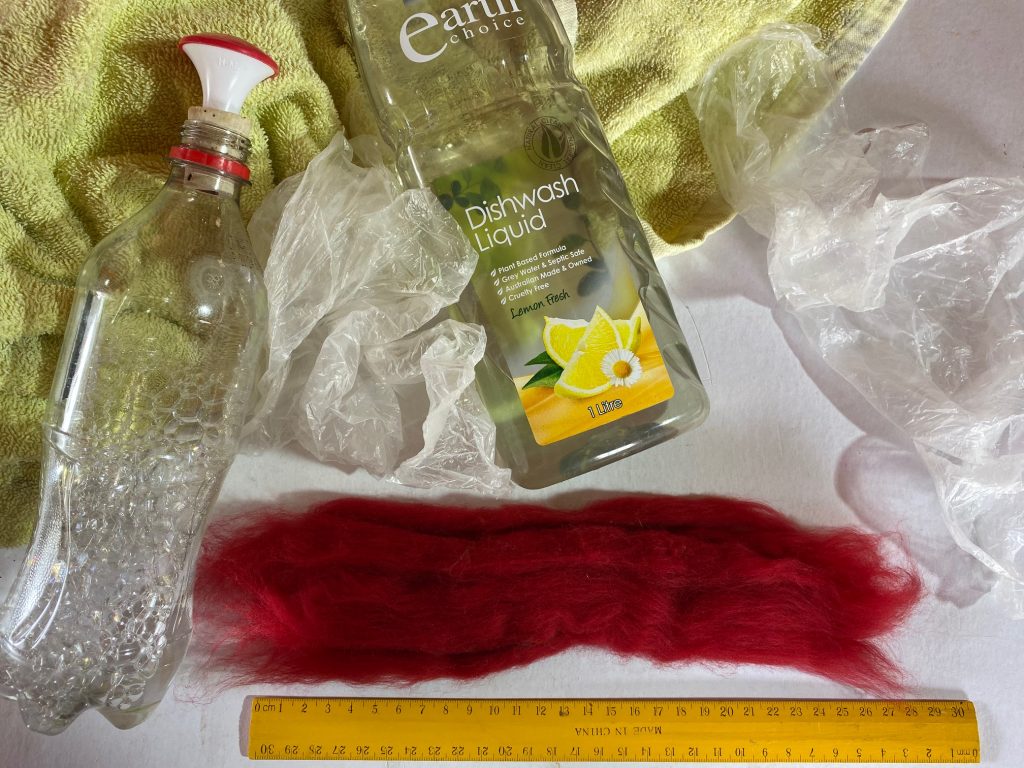
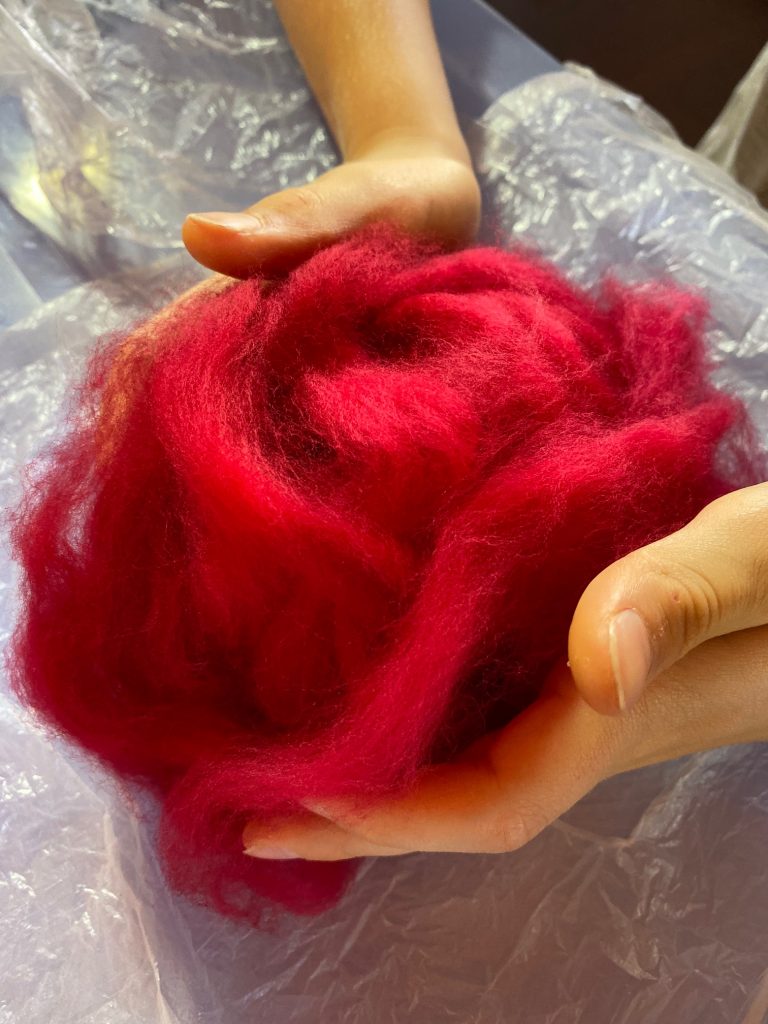
1. Wool tops (red or natural coloured) 5gms (0.2oz). This is approximately 25cm or 10 inches. Fleece can be used instead of wool tops.
2. Plastic bag cut in half
3. Water bottle with sprinkle top
4. Gentle Dishwash Liquid
5. Towel
6. Plastic box lid to use as a waterproof tray – optional (not shown in photo)
7. Buttons with either needle & thread or hot glue gun (not shown in photo)
8. Other optional items for attaching the poppy: safety pin, blue tack, ribbon
1. Working on top of a plastic box lid helps keep water from running onto your table.
2. Cut a plastic bag in half then lay it down on top of your bin lid.
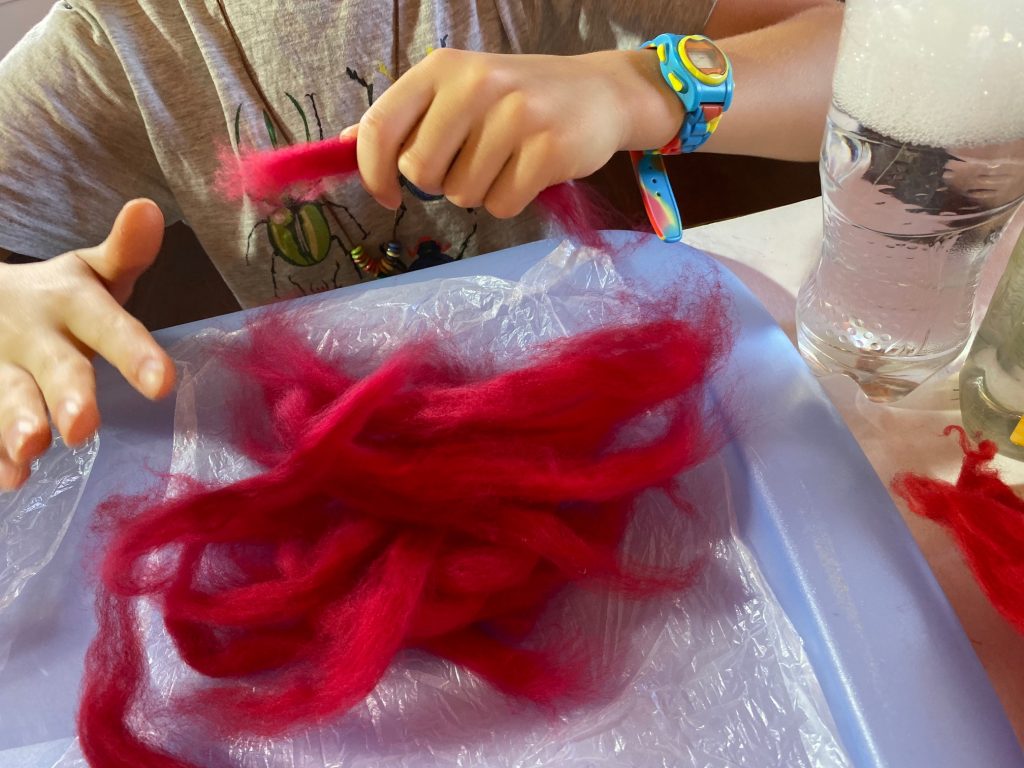
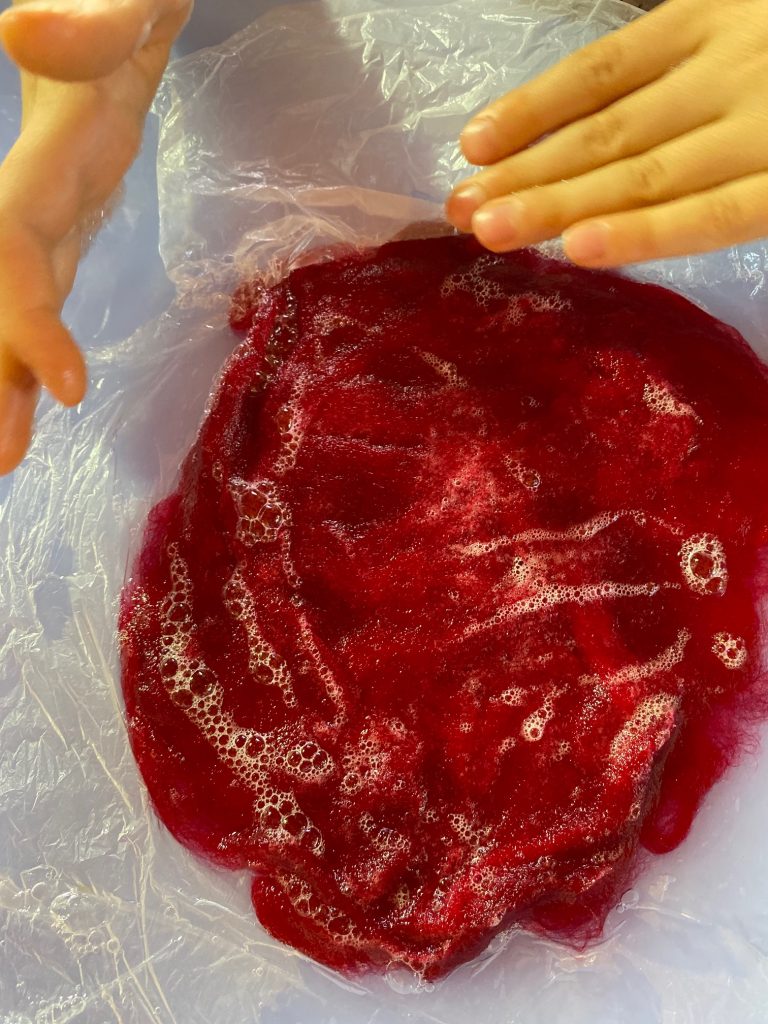
3. Pull wool into small pencil size pieces and lay in a crisscross pile on top of the sheet of plastic.
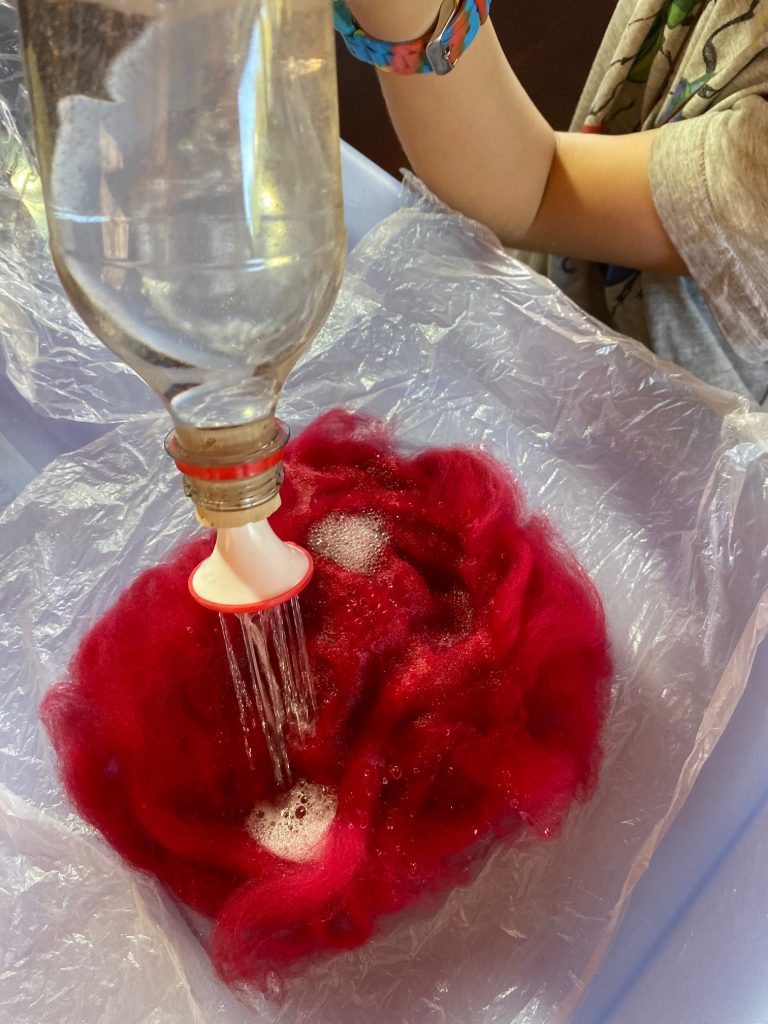
7. To make soapy water:
a. Fill a bottle with 1 lt cold water and 1ml (1-2 tsp) gentle liquid dish washing liquid like Earth Choice.
b. Make your own spray bottle using an old milk jug. Poke holes in lid with a nail or screwdriver, then fill jug with water and soap as above.
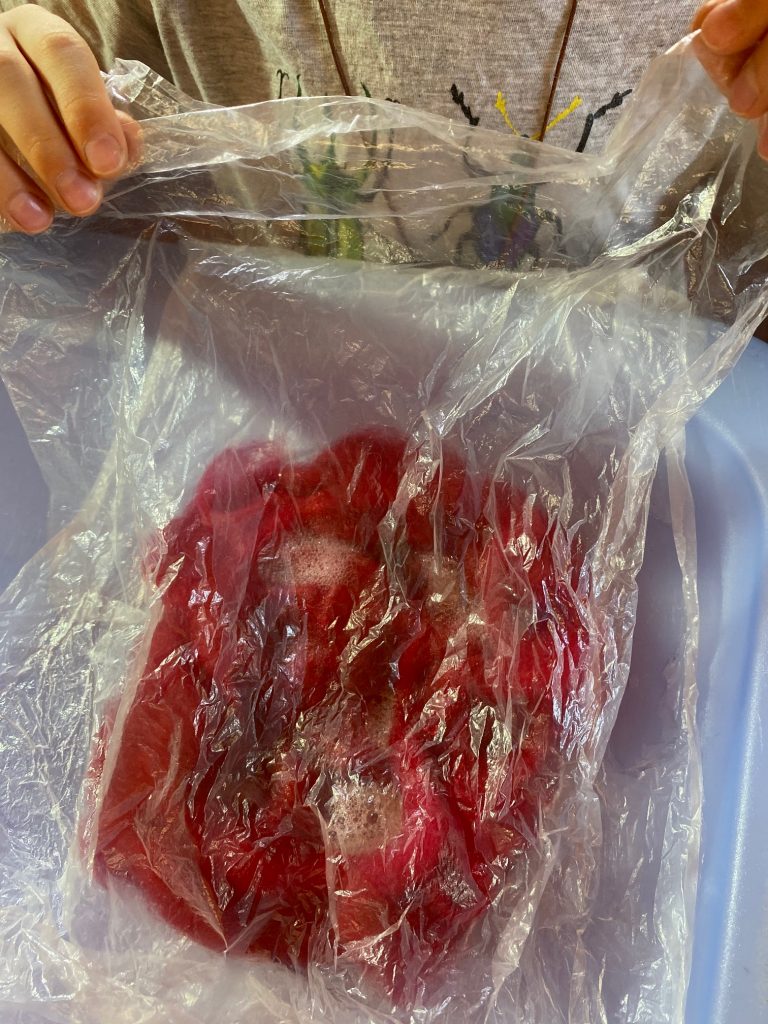
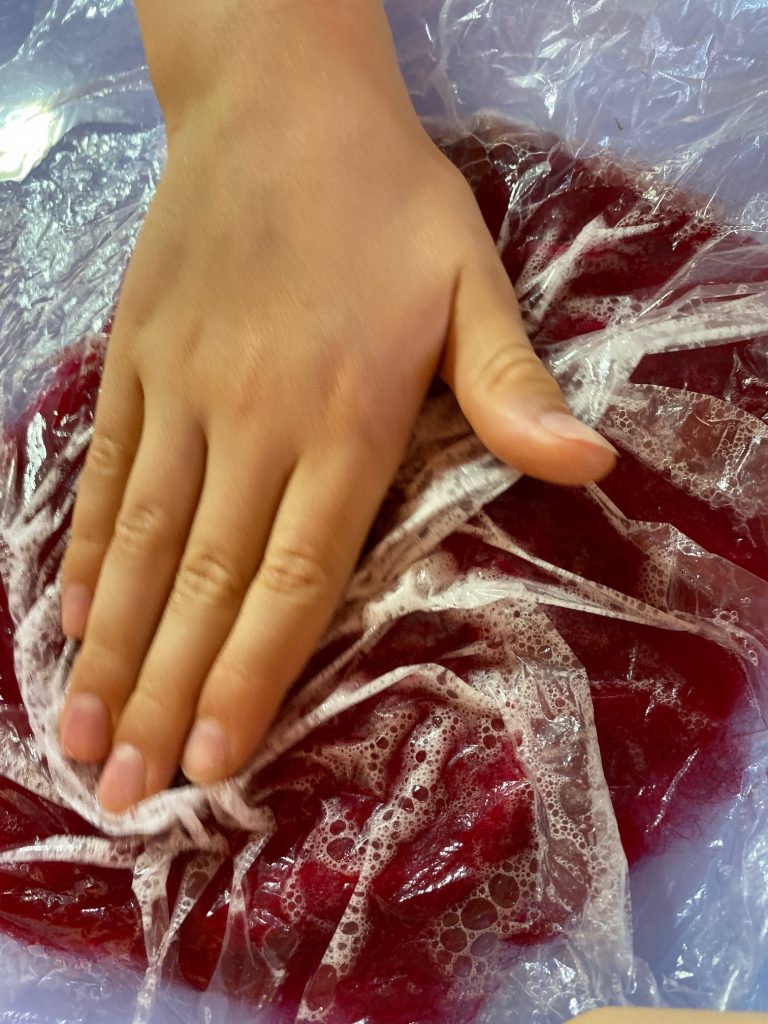
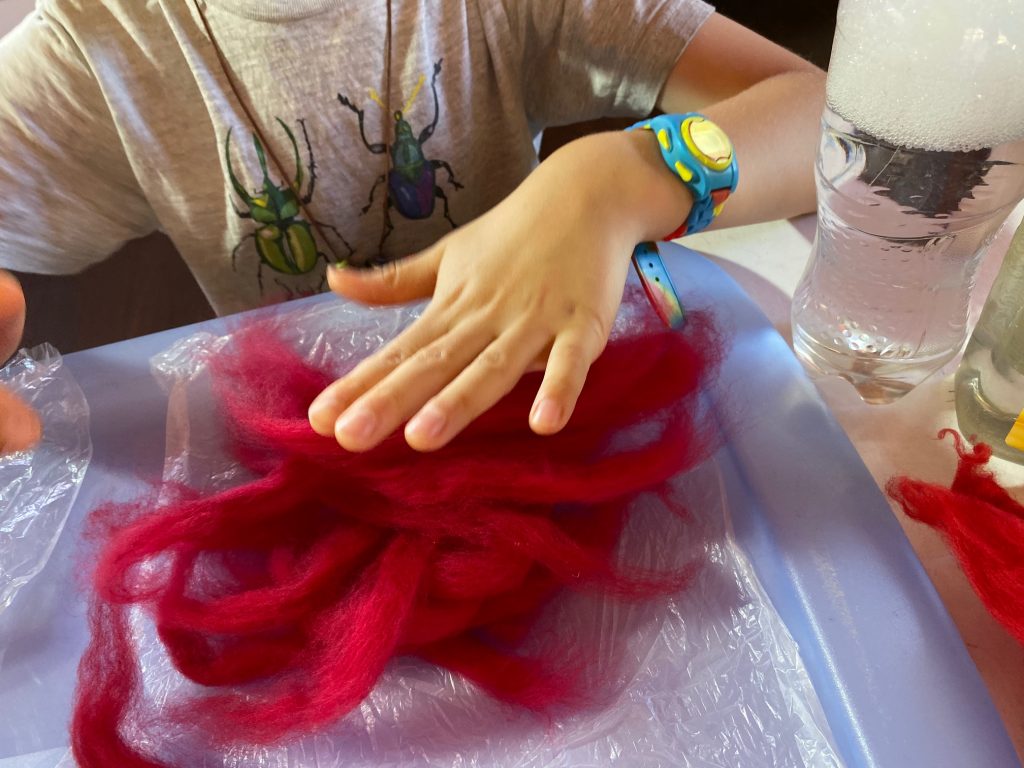
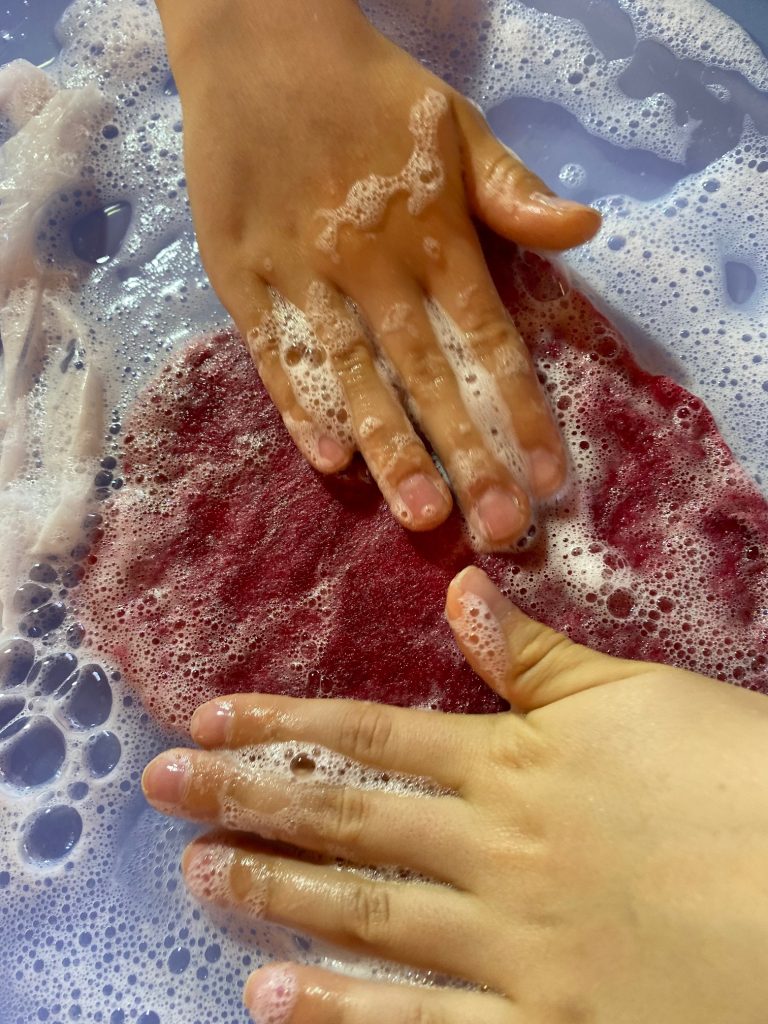
10. Pat and rub the wool gently to begin the felting process.
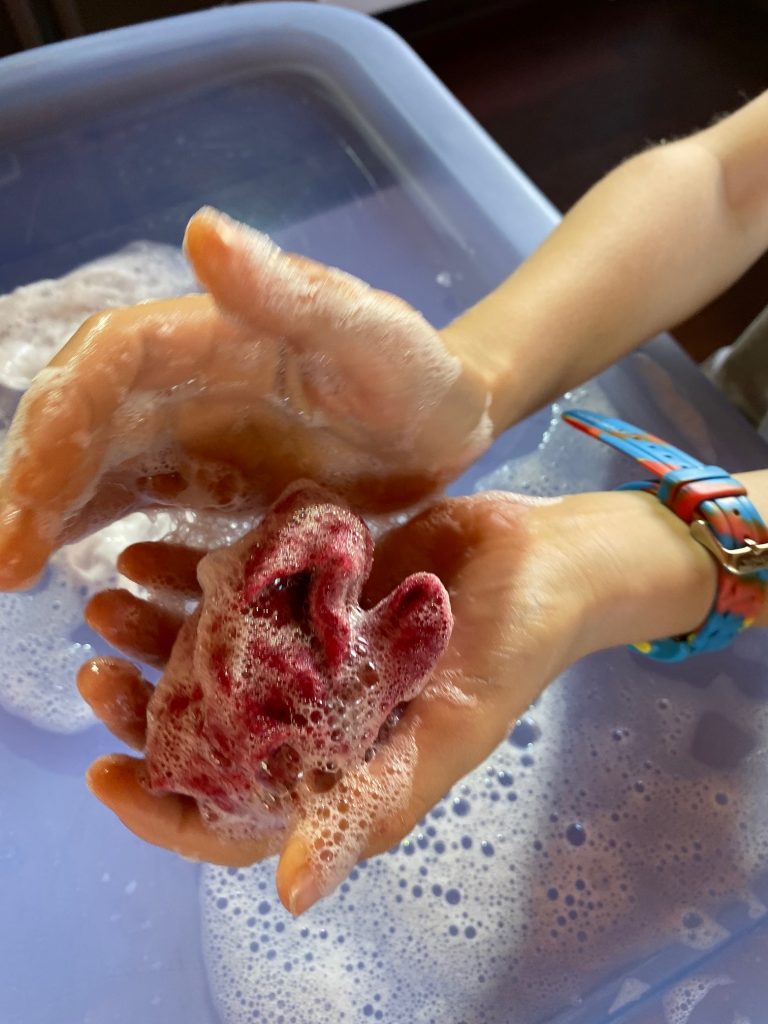
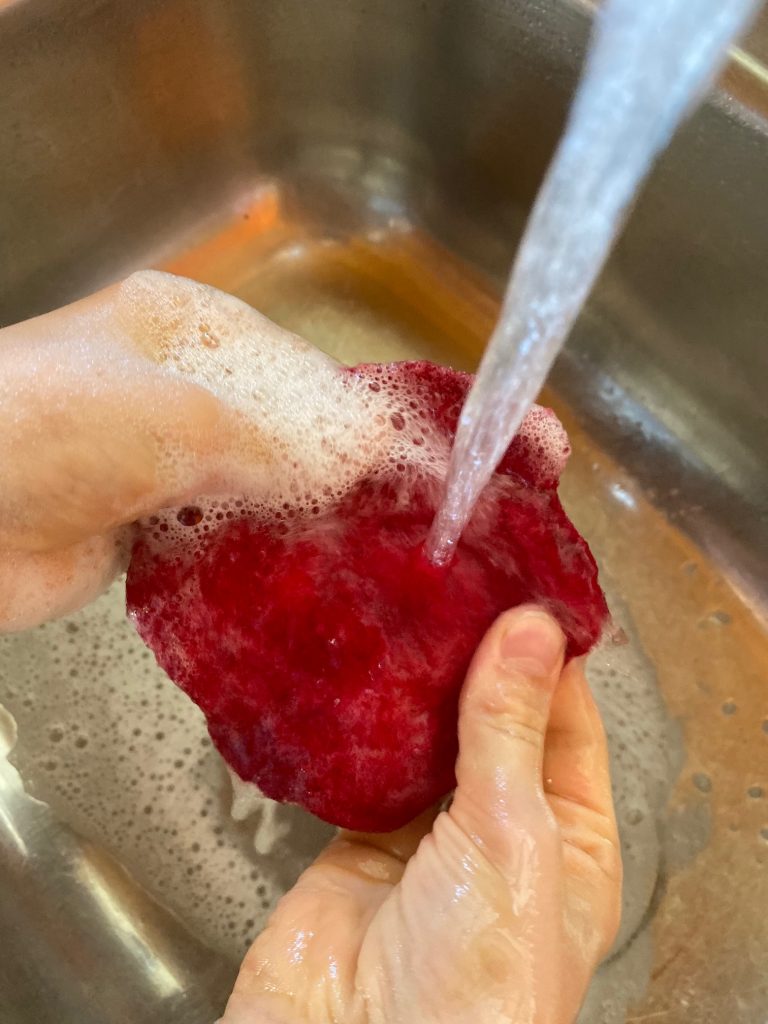
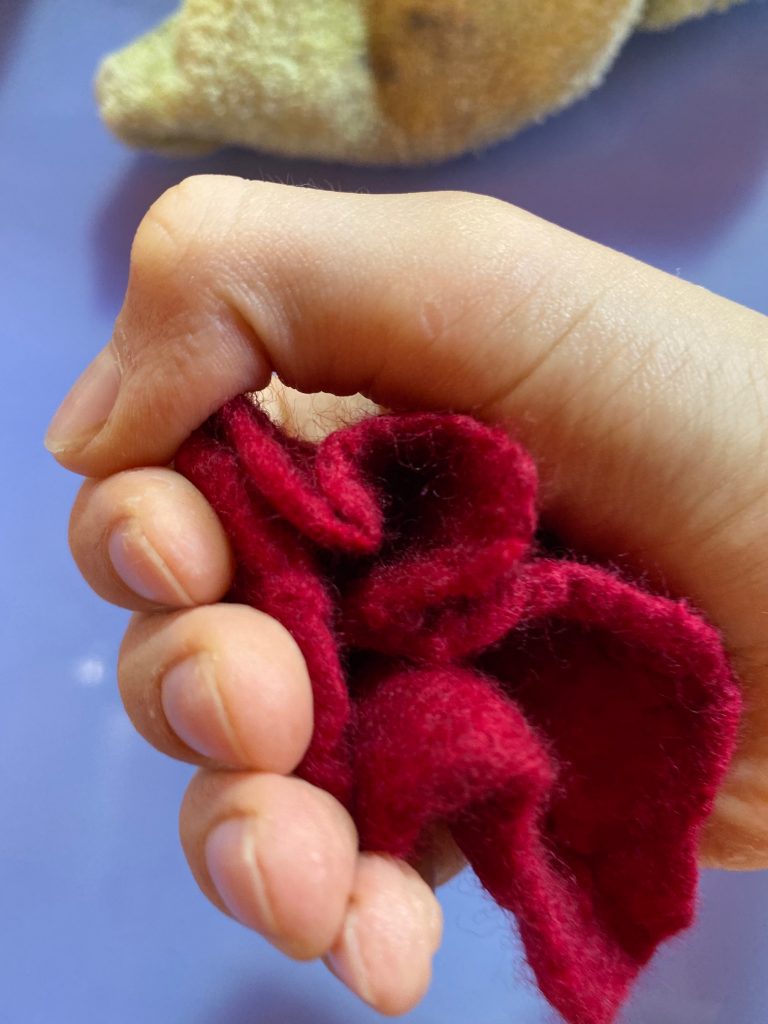
14. Keeping the wool wet and soapy, gently roll it around in your hands, then gently tossing it back and forth as it gets firmer. Don’t forget to open out your flower occasionally during this process so it won’t felt back onto itself. Continue until the bundle is about half its size.

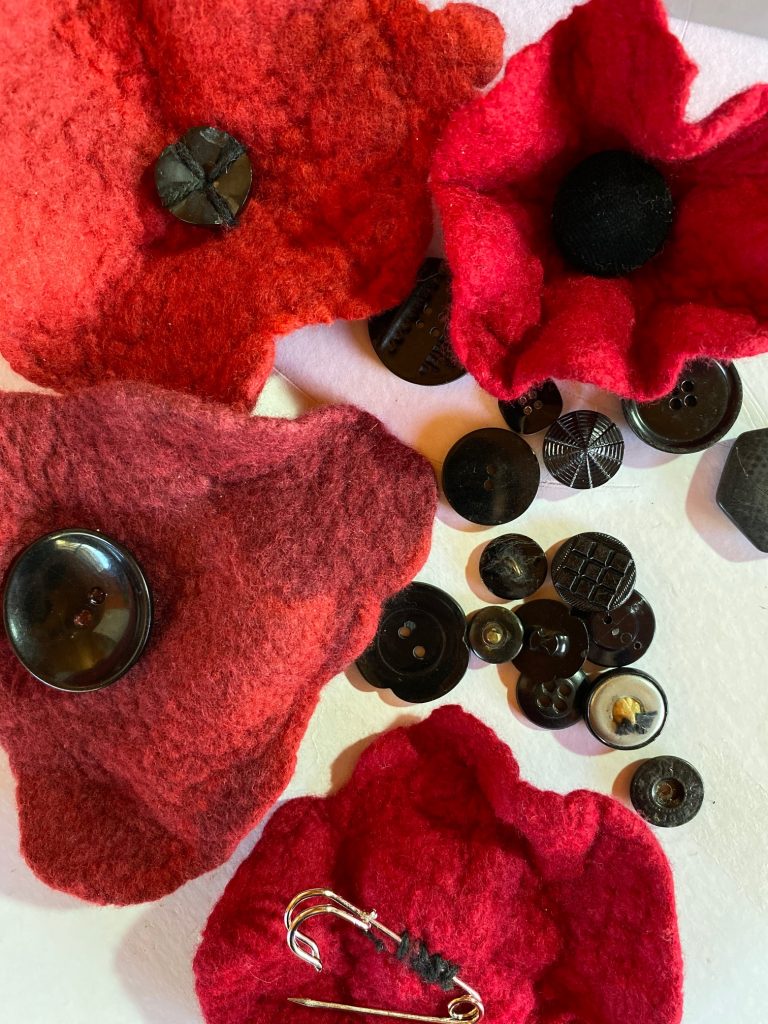
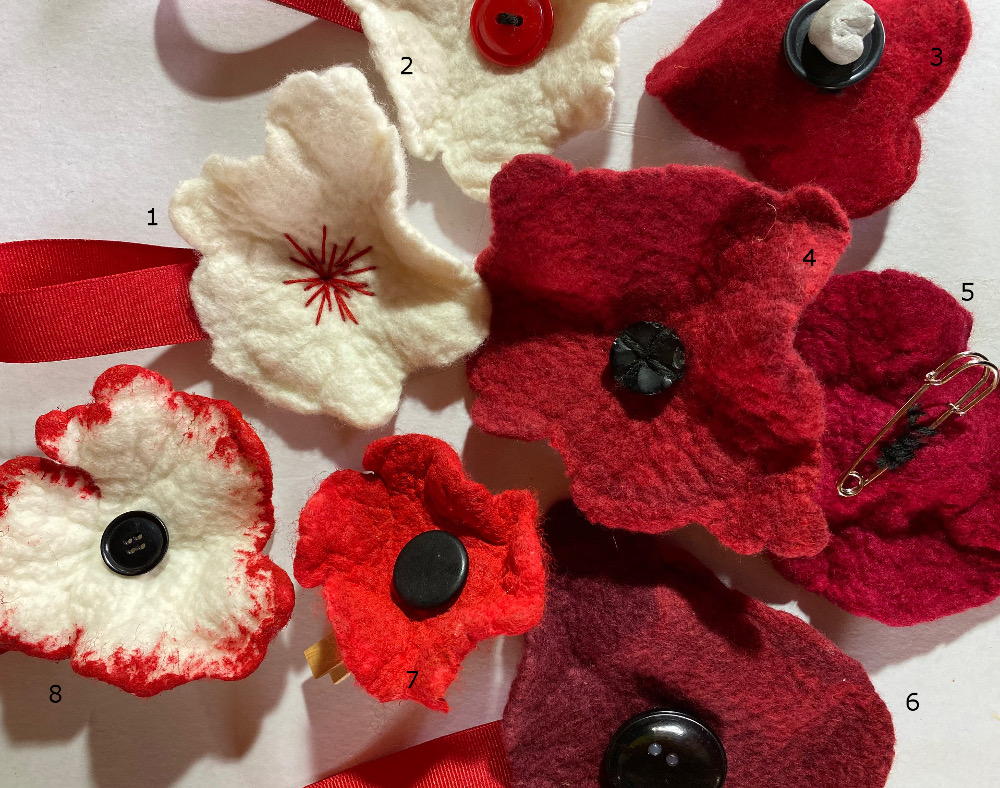
1. White poppy with hand stitching instead of a button. Use a large eyed needle and pull a ribbon through the felt on the back of the poppy. This enables you to be able hang or tie the poppy onto a tree or monument.
2. White wool poppy with hand sewn button and a ribbon has been pulled through the felt on the back.
3. Button sewn on both the front and back. Blue tack attached to the button on the back so enabling you to be able to stick the poppy to a window, etc.
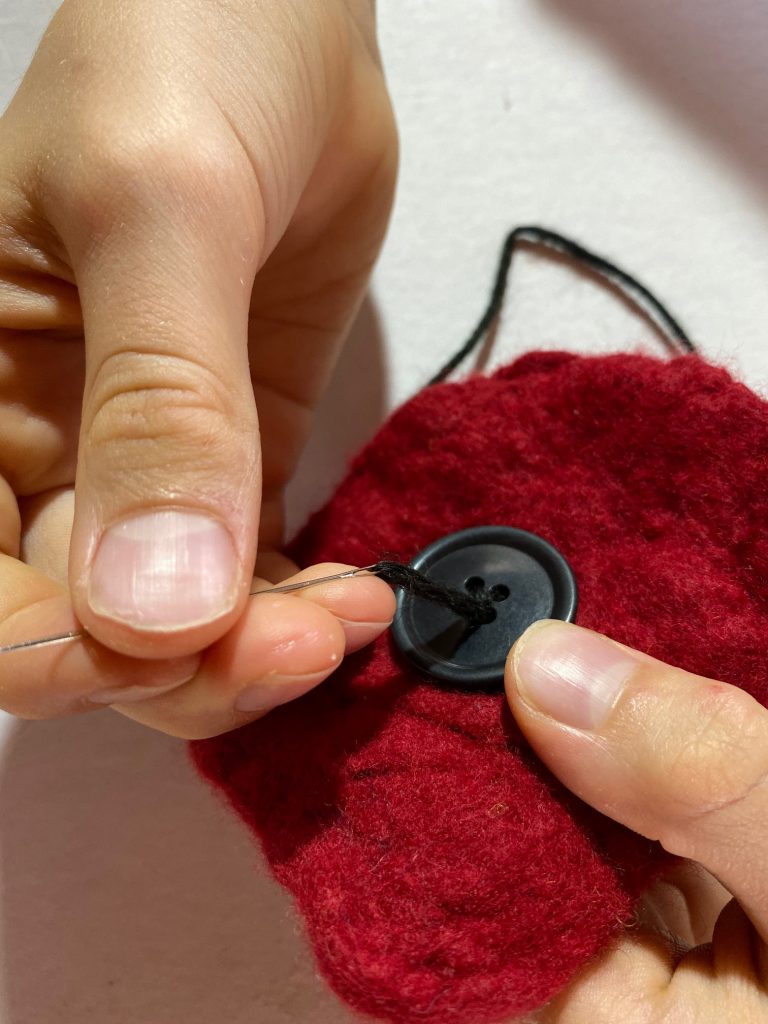
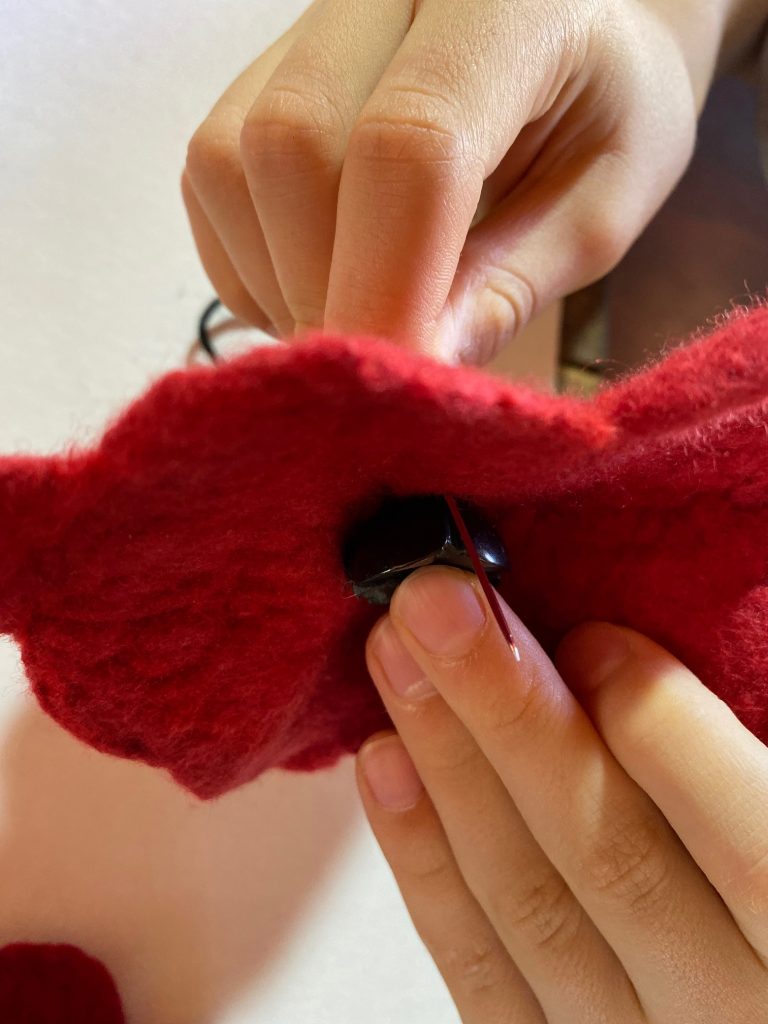
4. Button sewn in place by sewing over the button several times to catch it in place.
5. Safety pin/brooch pin sewn onto back of poppy.
6. Button sewn in place the using the holes in the button.
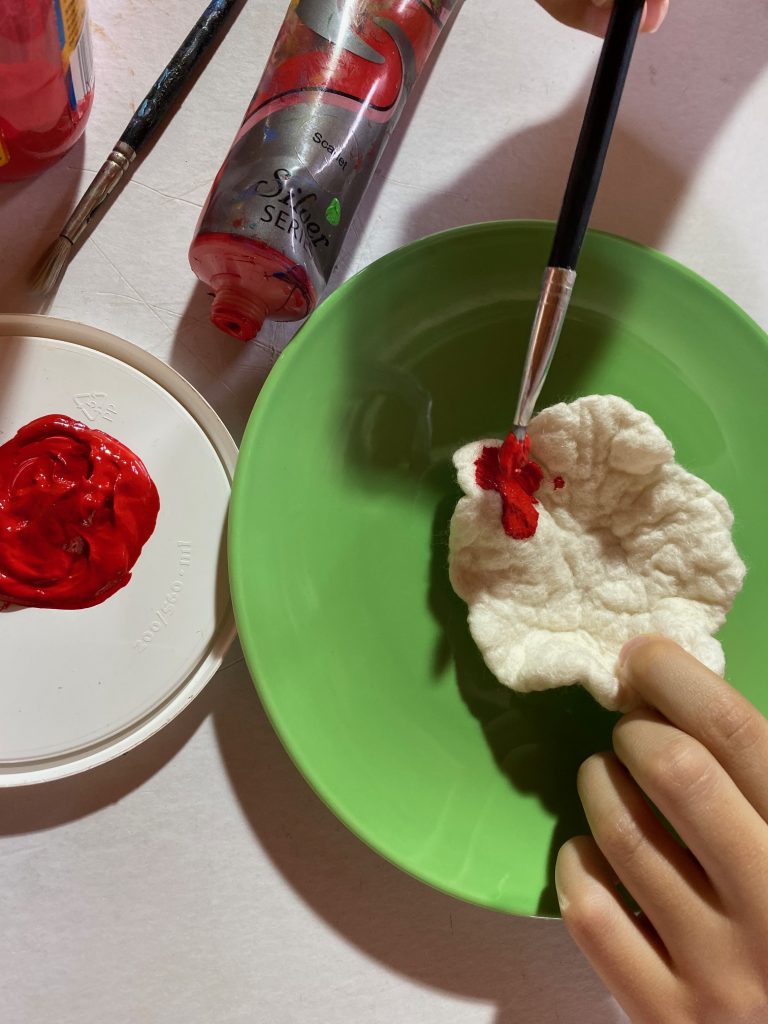
7. This was a white poppy which has been painted red with acrylic paint. Button hot glued in place.
8. White poppy decorated with red acrylic paint.