Learn how to felt a scarf using our Paj silk fabric
Paj silk is an elegant and lustrous fabric, easily suitable for nuno felting. Though it appears to have a denser weave than tissue silk (silk georgette), with just a little extra rolling the paj will felt into a gorgeous fabric with brilliant luster and elegant drape, perfect for a special occasion or a night out.[accordion][toggle title=”Materials Needed for Paj Nuno Scarf”]
Paj Silk Fabric: 1.8 – 2.5 metre
Superfine Merino Wool Tops: 30 – 40 gms
Silk Fibre (tussah, bombyx, throwsters waste, etc.): 10gms
Painter’s Plastic: longer and wider than project
Bubble Wrap (optional): longer and wider than the project
Netting (tulle): slightly larger than the paj fabric
Olive Oil Soap
PVC Pipe or Pool Noodle: a little wider than your scarf
Glass Wash Board or Plastic Painter’s Tray
For an average length scarf you will need 2 metres of paj silk fabric, 2.5 metres for a longer scarf or minimum 1.8 metres for a shorter scarf. The normal width of the fabric is 114cm wide, cut this in half width wise for two slightly wider scarfs or in thirds width wise for three normal width scarves.
For this project we will make a lightweight nuno scarf using just 30gms wool tops and 2 metres of fabric which has been cut into thirds width wise. I also like to decorate with a bit of silk fibre for extra interest and lustre, 10gm of Tussah silk or Bombyx silk should do.[/toggle][toggle title=”Begin by Laying Out the Fabric and Fibres”]
First put down your sheet of painter’s plastic, it needs to be slightly larger than your fabric all around. If you prefer to work with bubble wrap then lay it down instead. I find I don’t need the bubble wrap – I get quite good results only felting in the plastic.
Next lay down the paj silk fabric. Now start laying down a light layer of wool tops on to the paj in one direction and then the other (see Figure 1). Keep your layers thin and even. You should be able to almost see through the layers of wool to the fabric. I like to leave open spaces randomly throughout the piece to add variety to the finished surface. I lay the wool right to the edge of the fabric with some wisps overlapping the edge slightly. Don’t worry about these as they will shrink and catch on the piece as it is felted, failing that they can always be trimmed at the pre-felt stage.
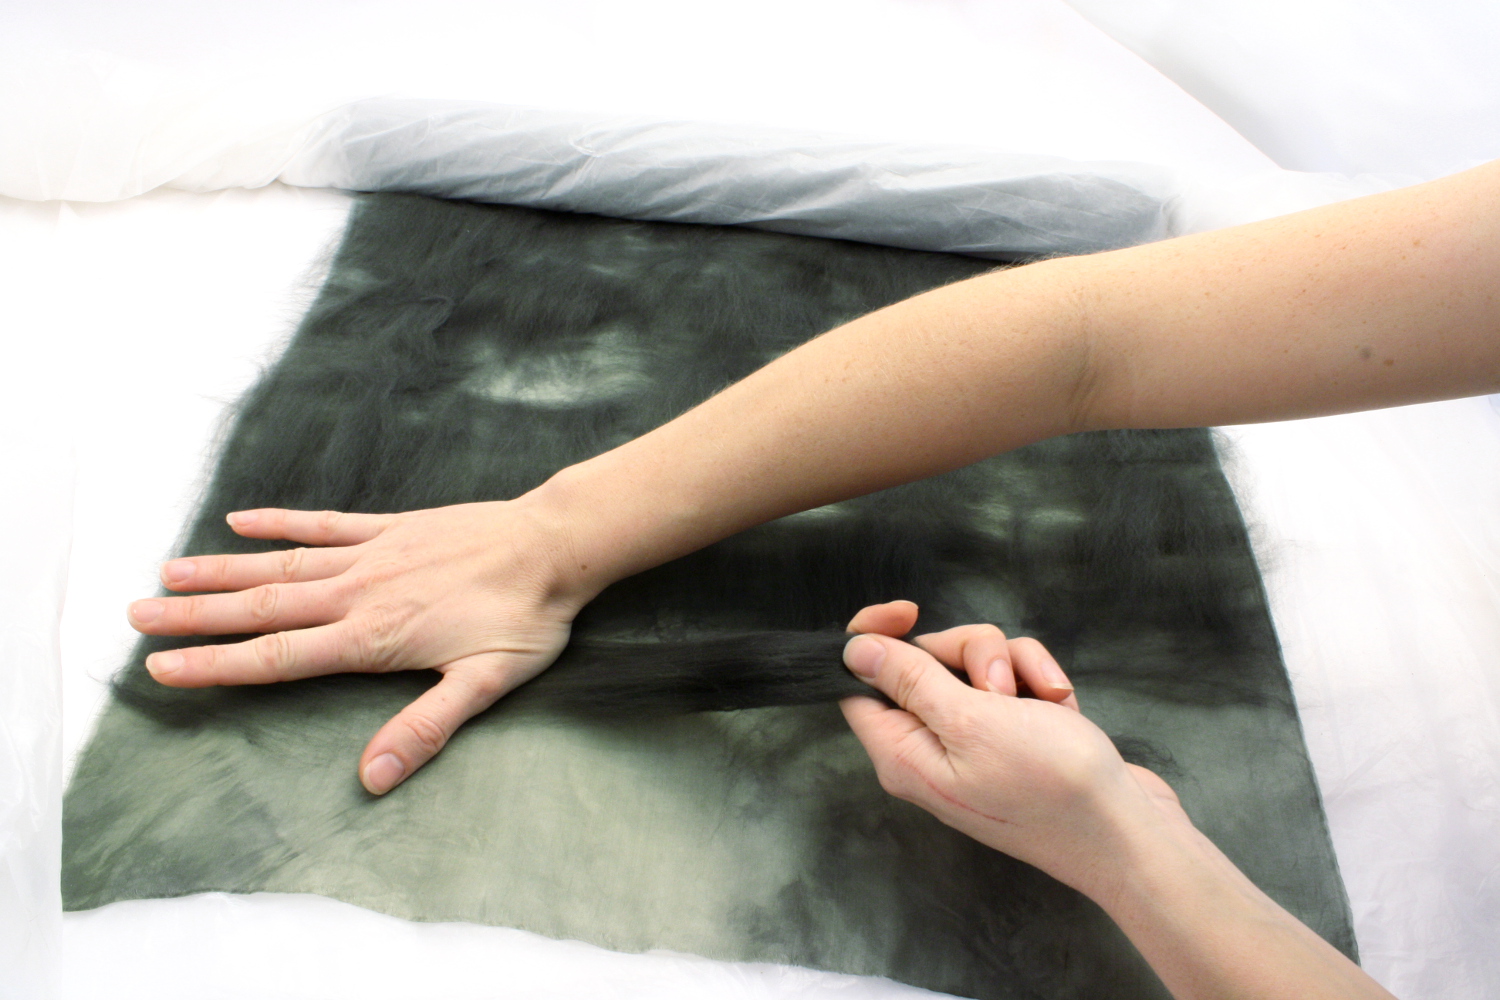 Figure 1
For decoration on the wool side lay down a layer of silk fibre (see Figure 2). The silk need only be laid in one direction, but there must be wool underneath it. Do not add wool on top of silk as this is a waste of silk, and is unnecessary. The silk can be put down in thin random wisps all over or as a border, it’s up to you. On my scarf, I have laid my wool down in fine even layers with a few random gaps. Then the silk fibre was put down in even but random patches on the wool side only. You can just about see through the silk to the wool but not quite.
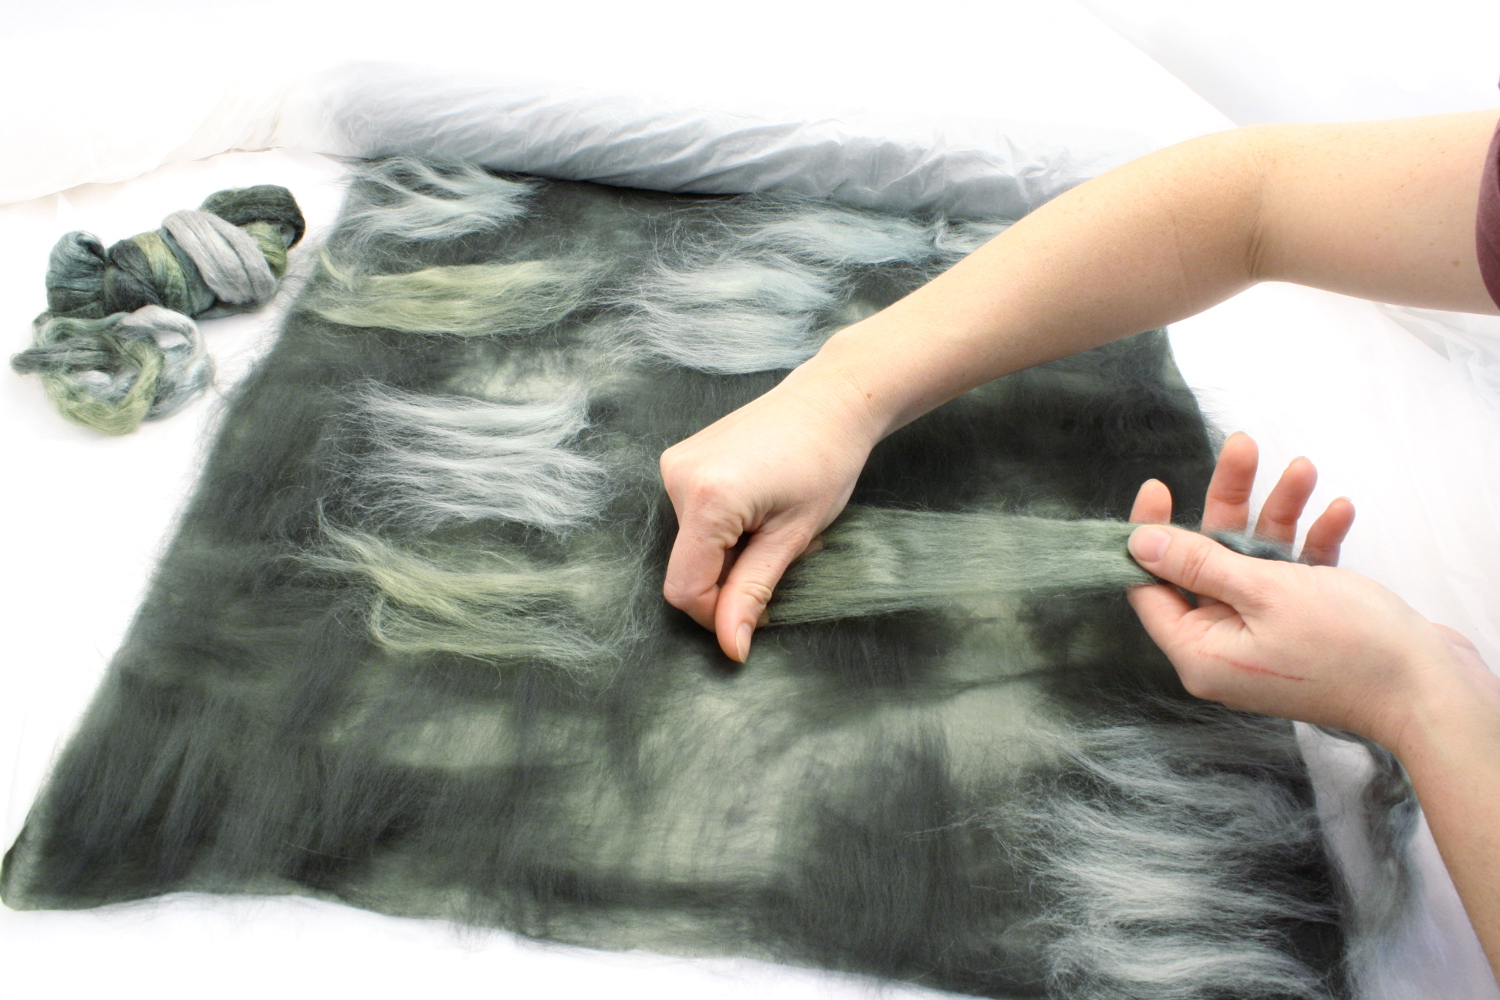 Figure 2[/toggle][toggle title=”Wetting Out the Fibres”]
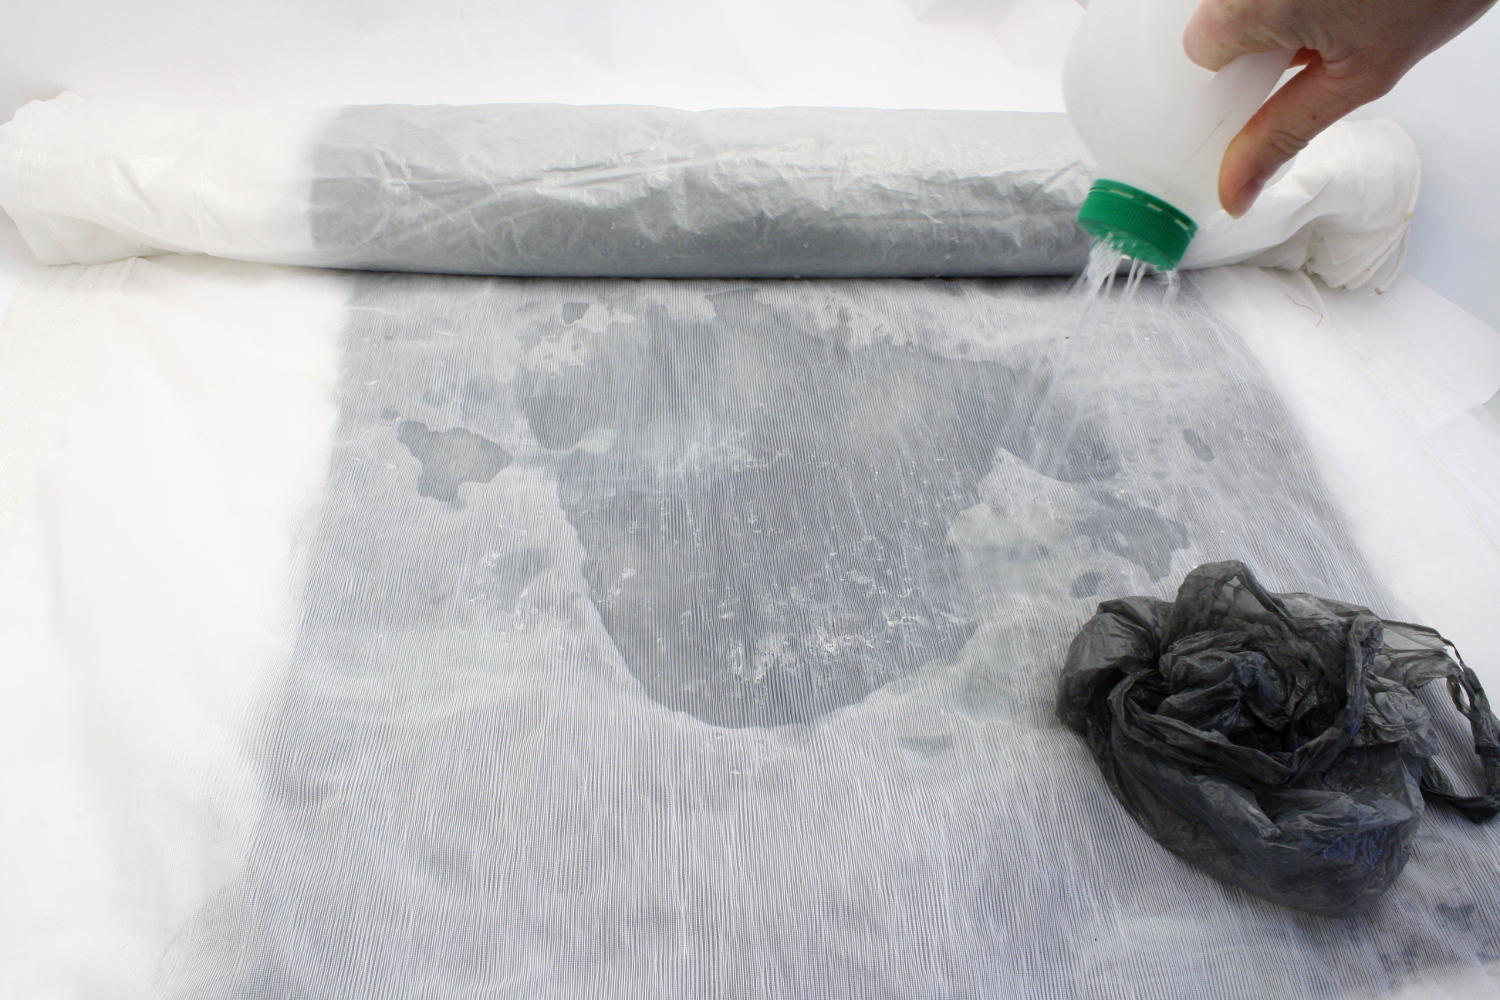
Now place your netting on top. Begin wetting your project with cool soapy water (see Figure 3). I like to grate a large spoonful of olive oil soap into a milk bottle and dissolve with a bit of boiling water, then fill the rest of the bottle with cool water. Try punching small holes in the lid of the milk bottle to make a felting watering can. This allows you to add the soapy water in small stages quite evenly over your entire piece. You can also choose to run your bar of soap over the netting while you are wetting it down with water. Do not use warm or hot water at this initial stage as it will felt the wool too fast before it has had time to migrate through the fabric.
Once wet, roll up your work in the plastic or bubble wrap. You may like to use the no-roll method described on this website (click here) or you may prefer to just roll your work up around a pvc pipe or pool noodle. Place the pipe or pool noodle at one end of the plastic (or bubble wrap) and roll up the whole lot into one big sausage shape. It is optional to secure the ends with some ties.[/toggle][toggle title=”Hardening (Rolling) Phase”]
You are now ready for the hardening part of feltmaking commonly referred to as rolling. Start rolling the sausage back and forth being careful to move your hands up and down the sausage so all parts get equal attention. You need to roll 100 to 200 times before unrolling the whole thing and rolling it up from the other end. This should take about 5 to 10 minutes. It is important to keep unrolling and rolling from either end to make sure everything felts evenly. Use these opportunities to straighten any creases in your work as you go. Some people are more vigorous and heavy with their rolling and this may result in a faster felting process, but it also requires more frequent checking and rerolling from either end.
After about 750 to 1000 rolls, all the fibres should have begun to matt together. Continue rolling for approximately another 1000 rolls (less if you are a quick felter) to reach the pre-felt stage. There should be some noticeable shrinkage at the stage, the fabric is beginning to pucker as the wool shrinks and pulls it in. All the fibres should have worked their way through the weave of the fabric and be firmly attached. The silk fibres added as decoration should be secured to the wool fibre and also be a little wiggly from the wool shrinking and pulling the silk in (see Figure 4).
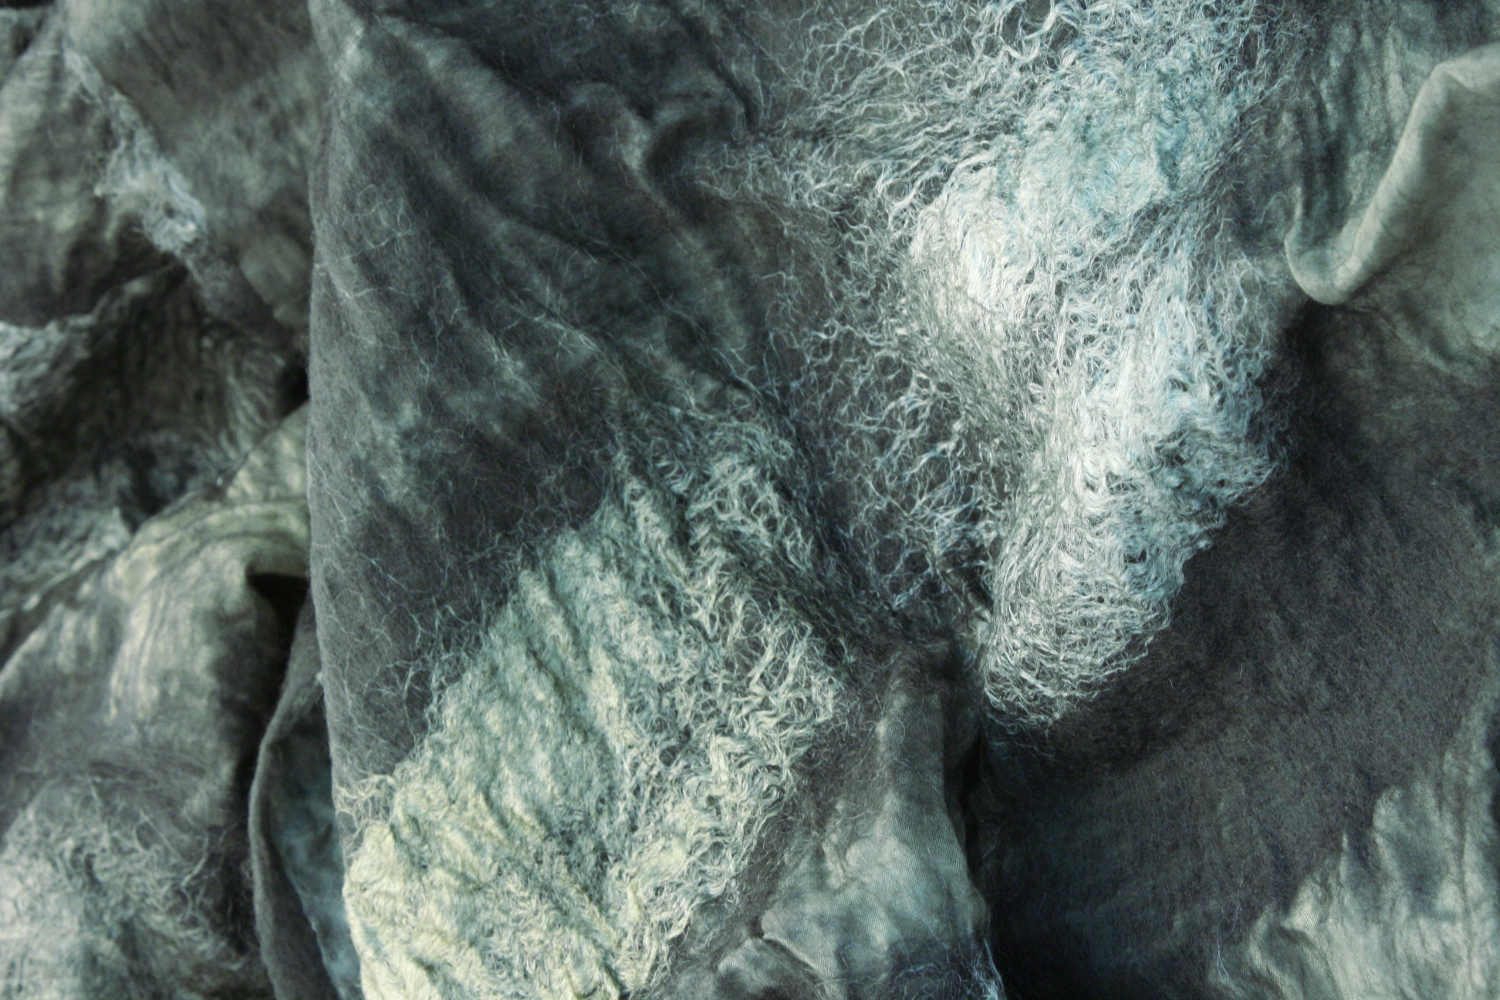 Figure 4 [/toggle][toggle title=”Fulling (Tossing) Phase”]
Now it’s time to full your felt piece. Squeeze out the excess cold water and submerse into a bucket of warm soapy water. Pull it out and gently squeeze out the excess water whilst keeping it quite wet. You do not want your work to get dry at this stage. Begin by tossing the scarf onto the table, picking it up and dropping it down again (see Figure 5).
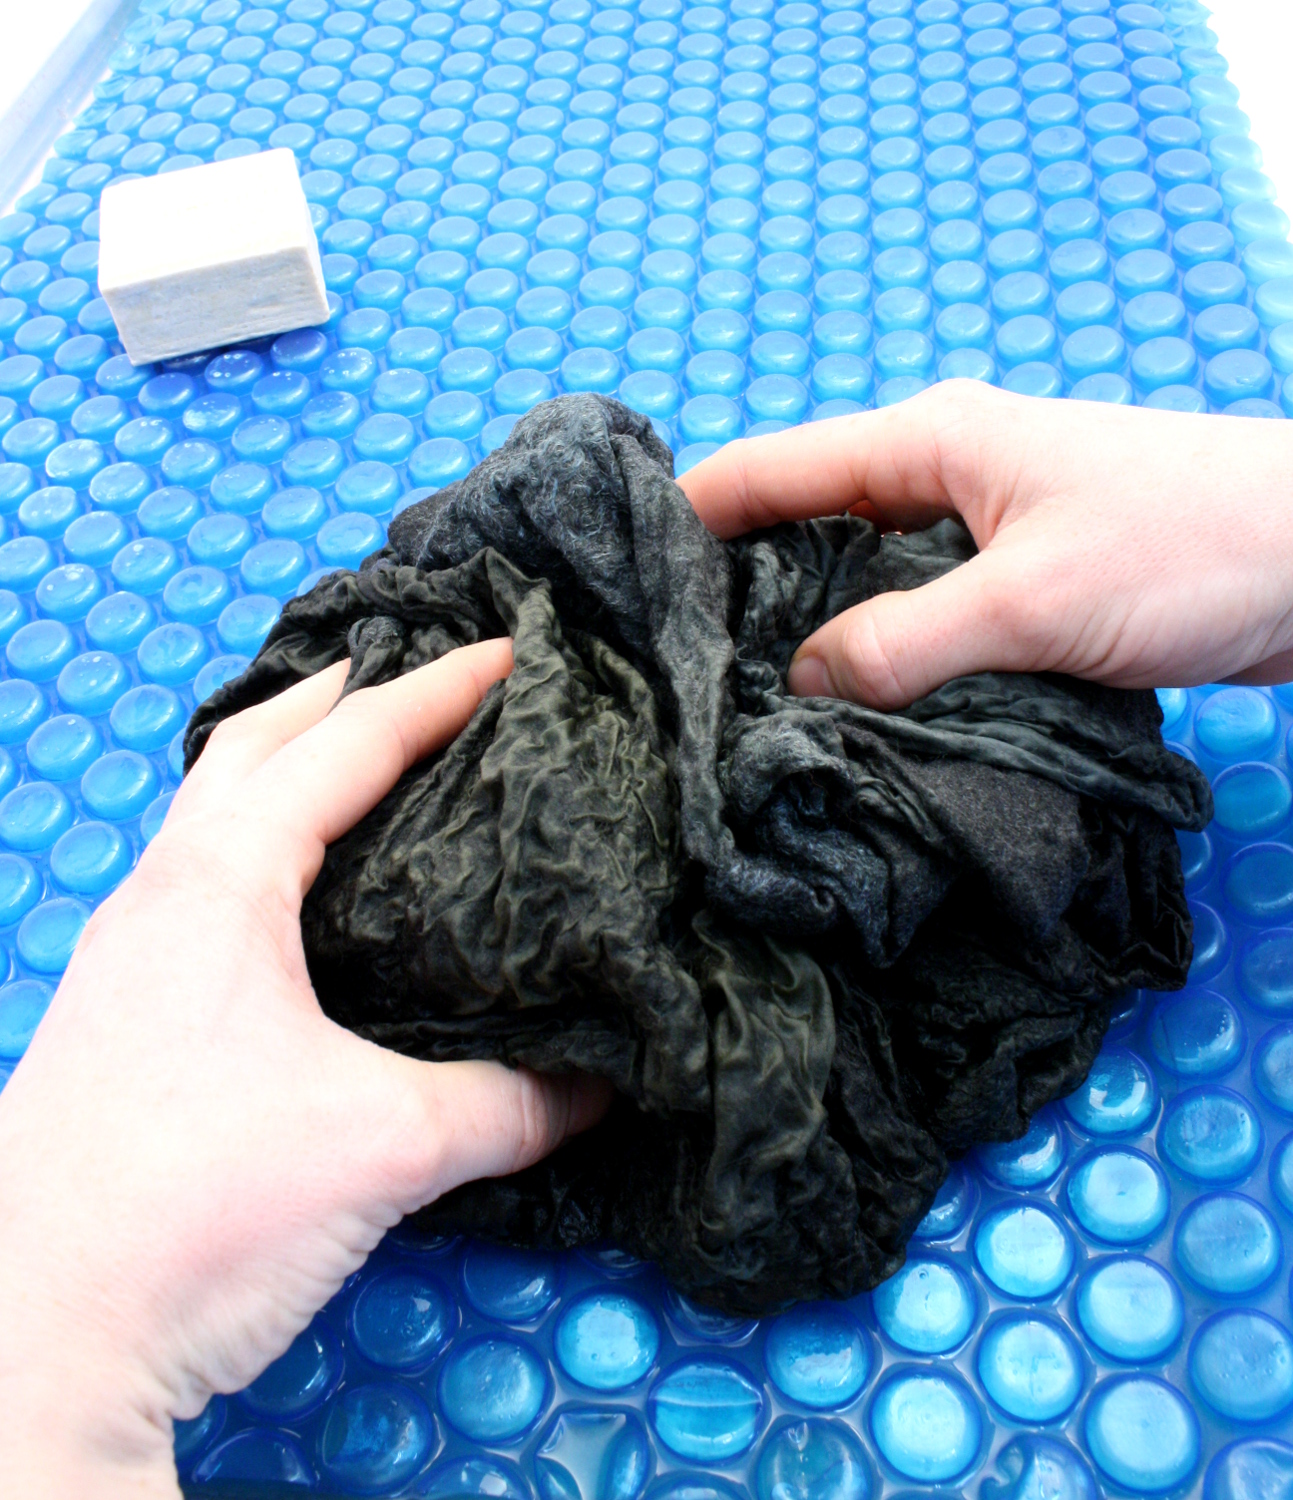 Figure 5
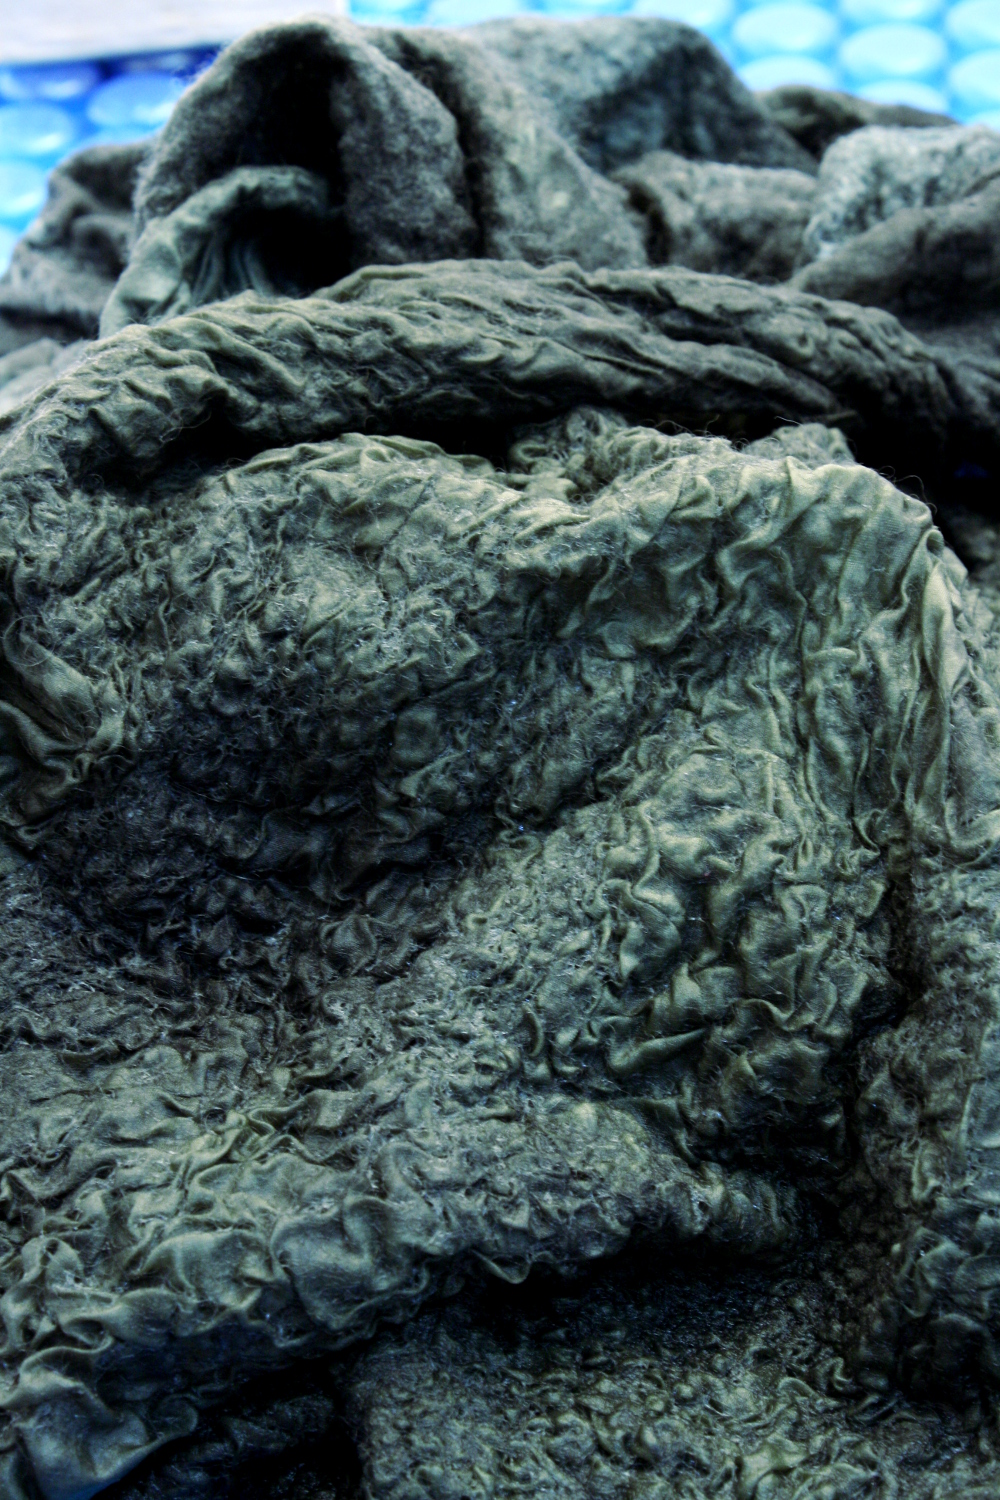
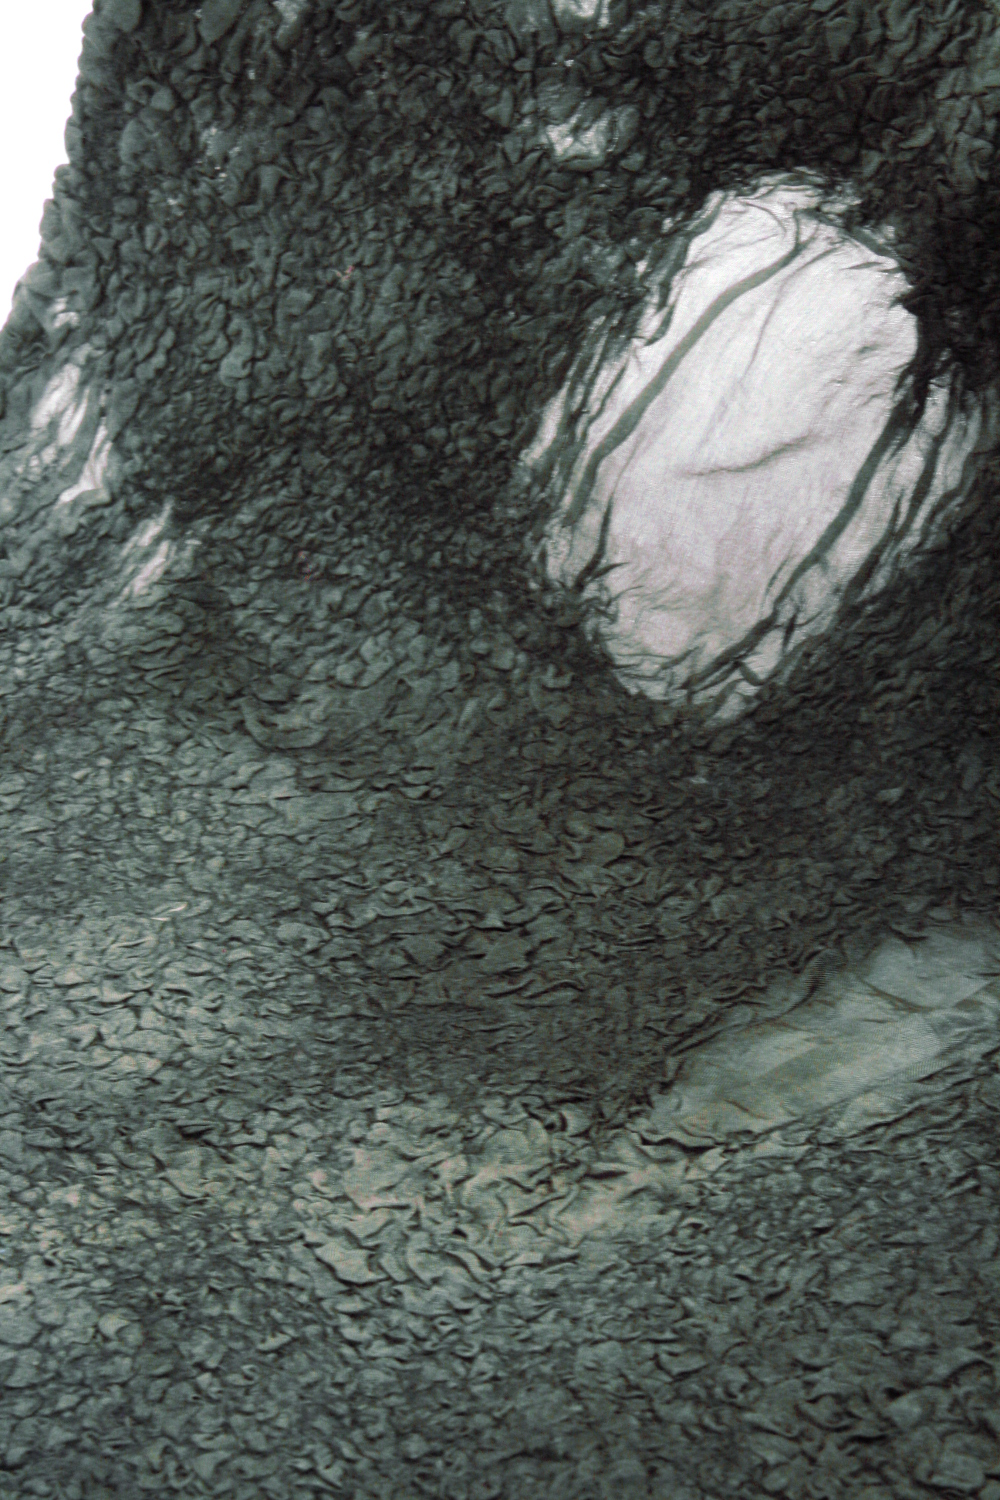
Gently at first, then increasingly more vigorous. There is no need to slam your work down; this is still quite a gentle process. Keep an eye on the edges pulling them out if they start to felt onto themselves. Stretch your work often whilst tossing, pulling quite firmly in all directions. This will aid in the drape and create a better felt. Continue to toss your work, periodically warming it with warm soapy water. Warmth and lubrication will help in the felting process. Keep tossing your work noticing the shrinkage occurring quite quickly now. You should continue this process until the felt has shrunk at least 30 to 40%. The more you toss, the more it will shrink and the better it’s texture (see Figure 6).
A beautifully smooth and firm finish to your felt can be achieved using the ridges on a glass wash board (or plastic painter’s tray) and LOTS of warm soapy water. The following items can also be used but aren’t quite as effective – hard swimming pool bubble wrap, the ridges on the top of storage boxes or failing that the ridges on the drain board of your sink. After tossing your piece to a sufficient stage, simply glide the work over the ridged surface with the aid of lots of soapy warm water. By gently gliding the felt over these textured surfaces it compacts and fulls the fibres considerably more than tossing. You will be able to achieve a smooth tight surface perfect for wearables where constant rubbing can result in the relaxing and pilling of fibres. Click here to view our article on Fully Felted Felt for more information.[/toggle][toggle title=”Finishing Techniques”]
When you are happy your project is well hardened and fulled, rinse out all the remaining soap with tepid water and roll up in a dry towel or spin dry in your washing machine (do not use the wash cycle of your machine, just the SPIN ONLY cycle). Next lay flat to dry, stretching the piece to your desired finished shape. When it’s dry, a steam iron will give your felt a professional finish, and any additional shaping can also be done at this point.
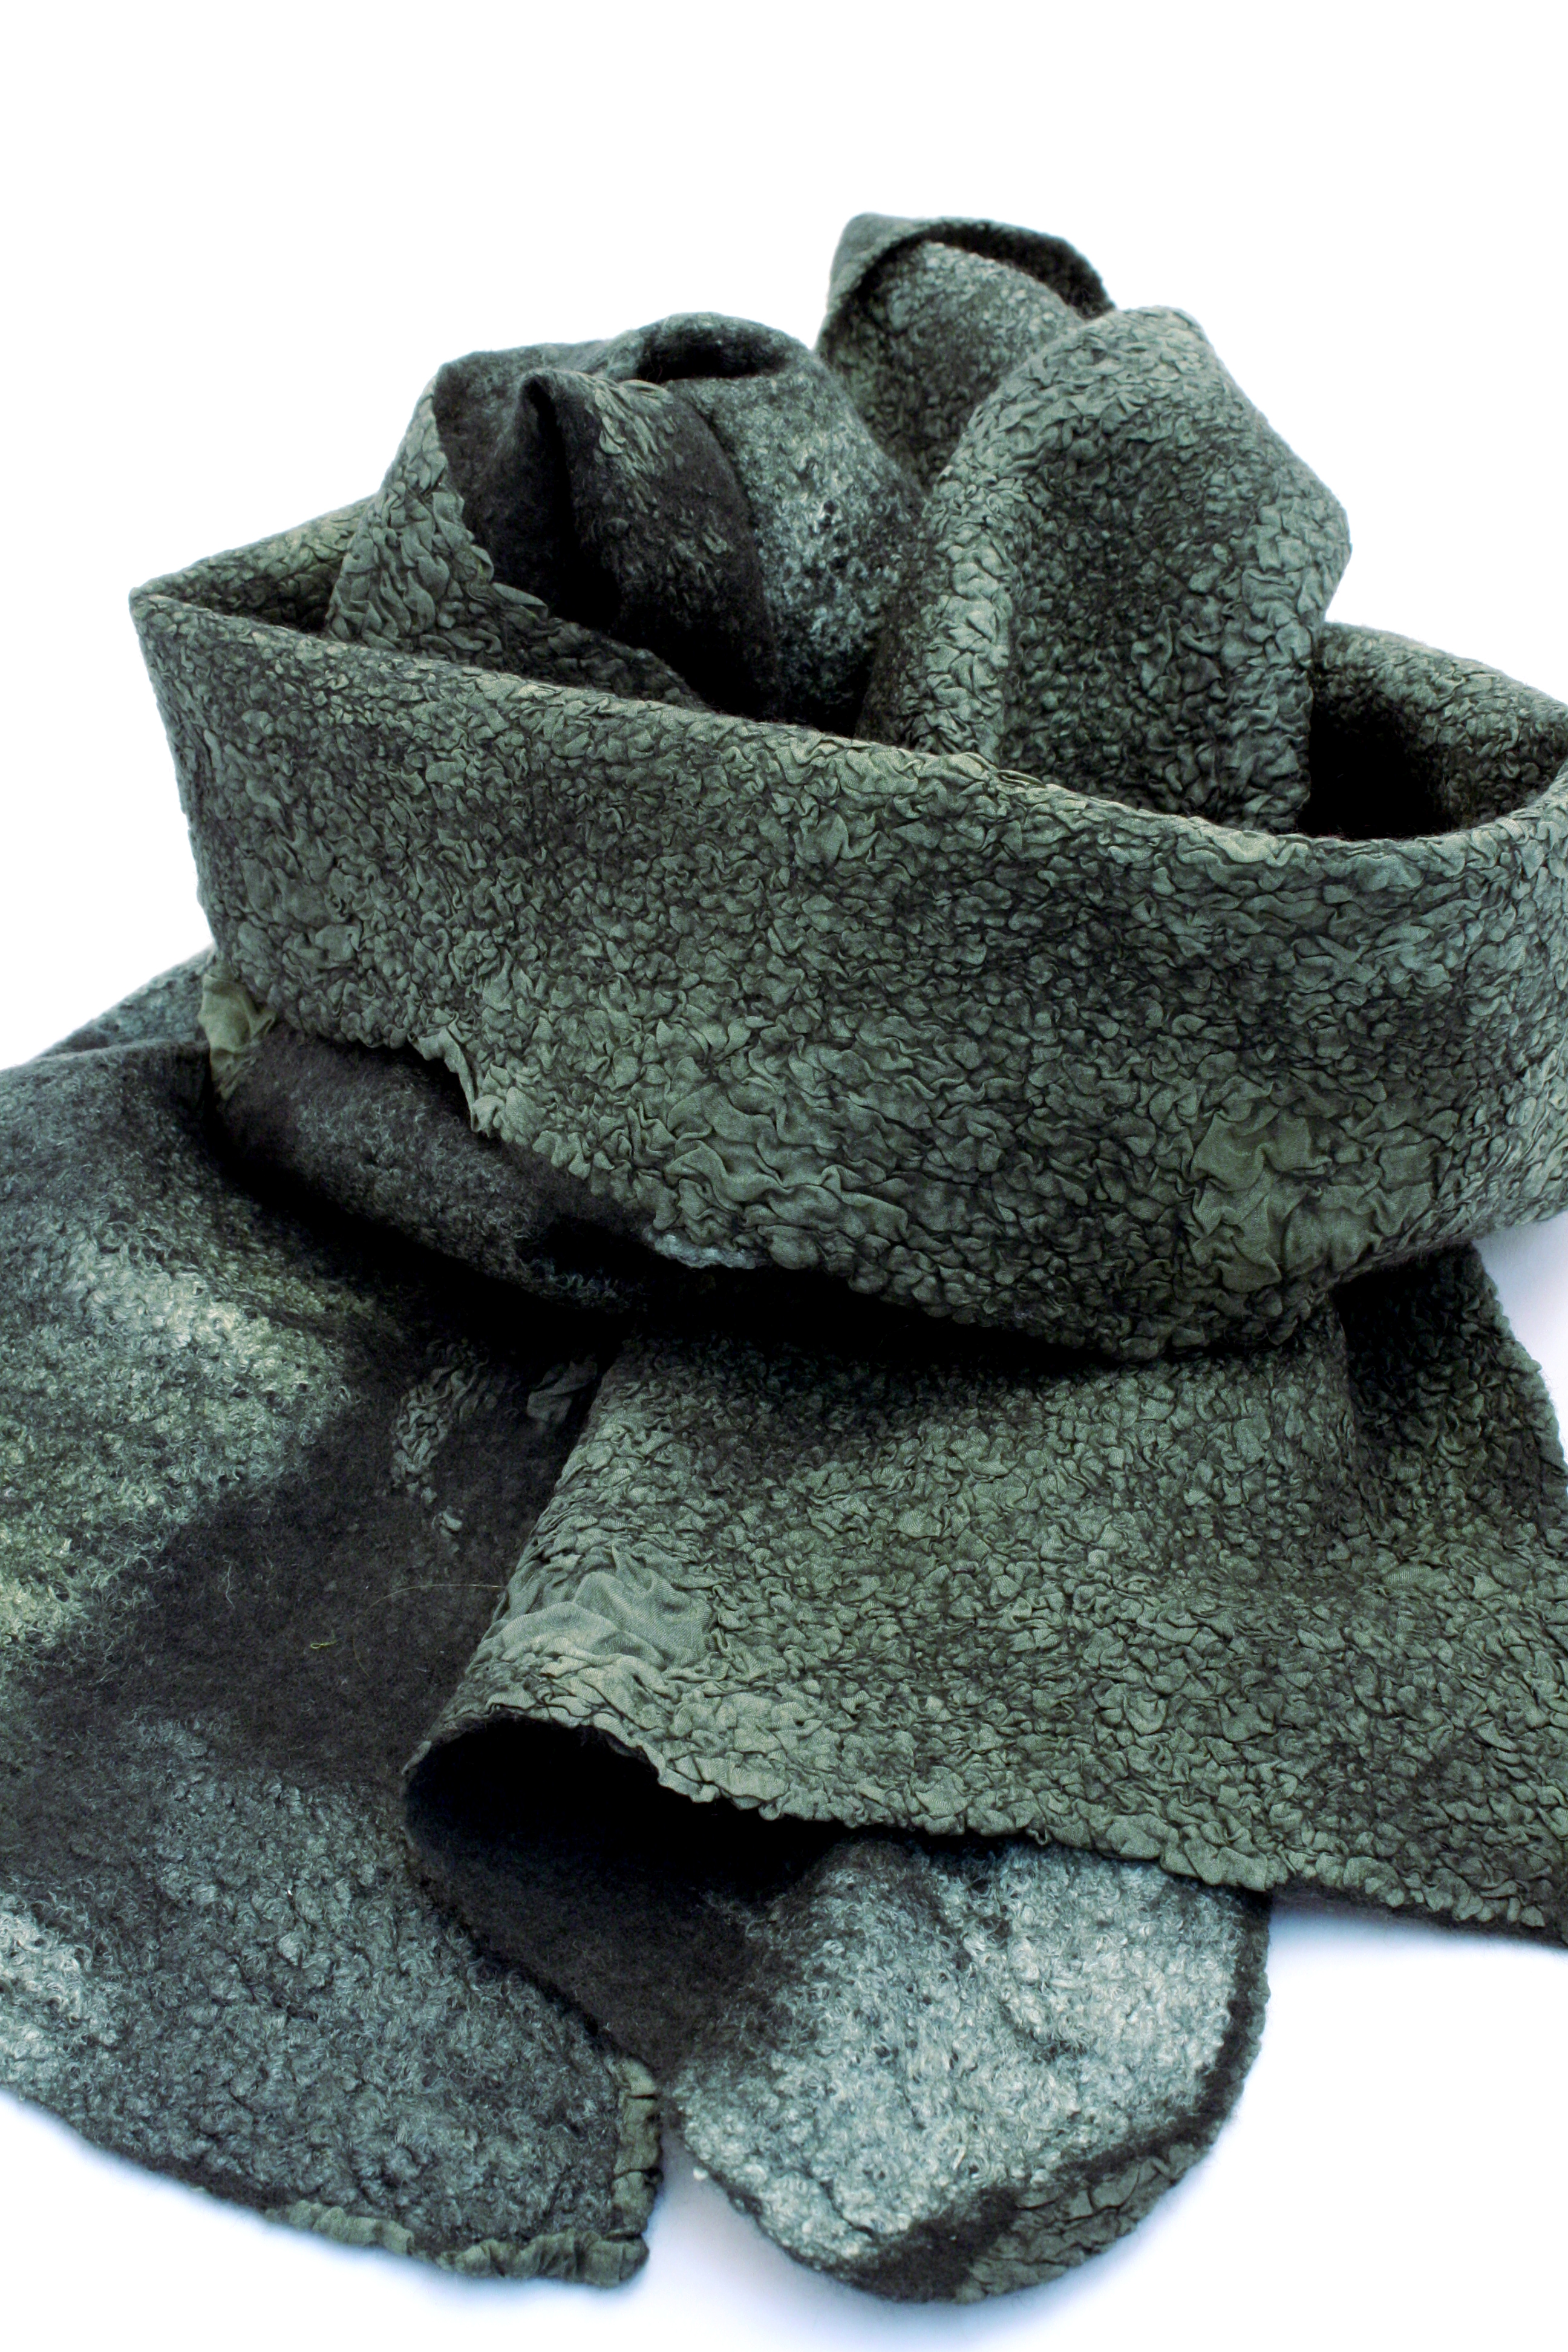 Paj Nuno Scarf