Upon nuno felting a queen-size bed throw during COVID lockdown, necessity called for a joining stitch that would securely hold the two large pieces of felt together. The stitch needed to not add bulk to the seam and be very flexible. Not happy with any existing joining stitch I knew, I embarked on exploring new stitch ideas. Thus the ‘Laced Up Feather Stitch’ was hatched. The stitch also works well when joining solid felt to nuno or two solid felt pieces together.
Most people who stitch would probably already be familiar with the Feather Stitch. I loved it’s decorative aspect, plus the variety of ways that it could look depending on the type of thread, angle of the stitches, and spacing of the stitches (great to explore these elements!). However, the Feather stitch alone did not hold the felt edges together securely enough; hence, I decided to ‘Lace Up’ the back of the stitch to give the reverse side more stability. This worked a treat!
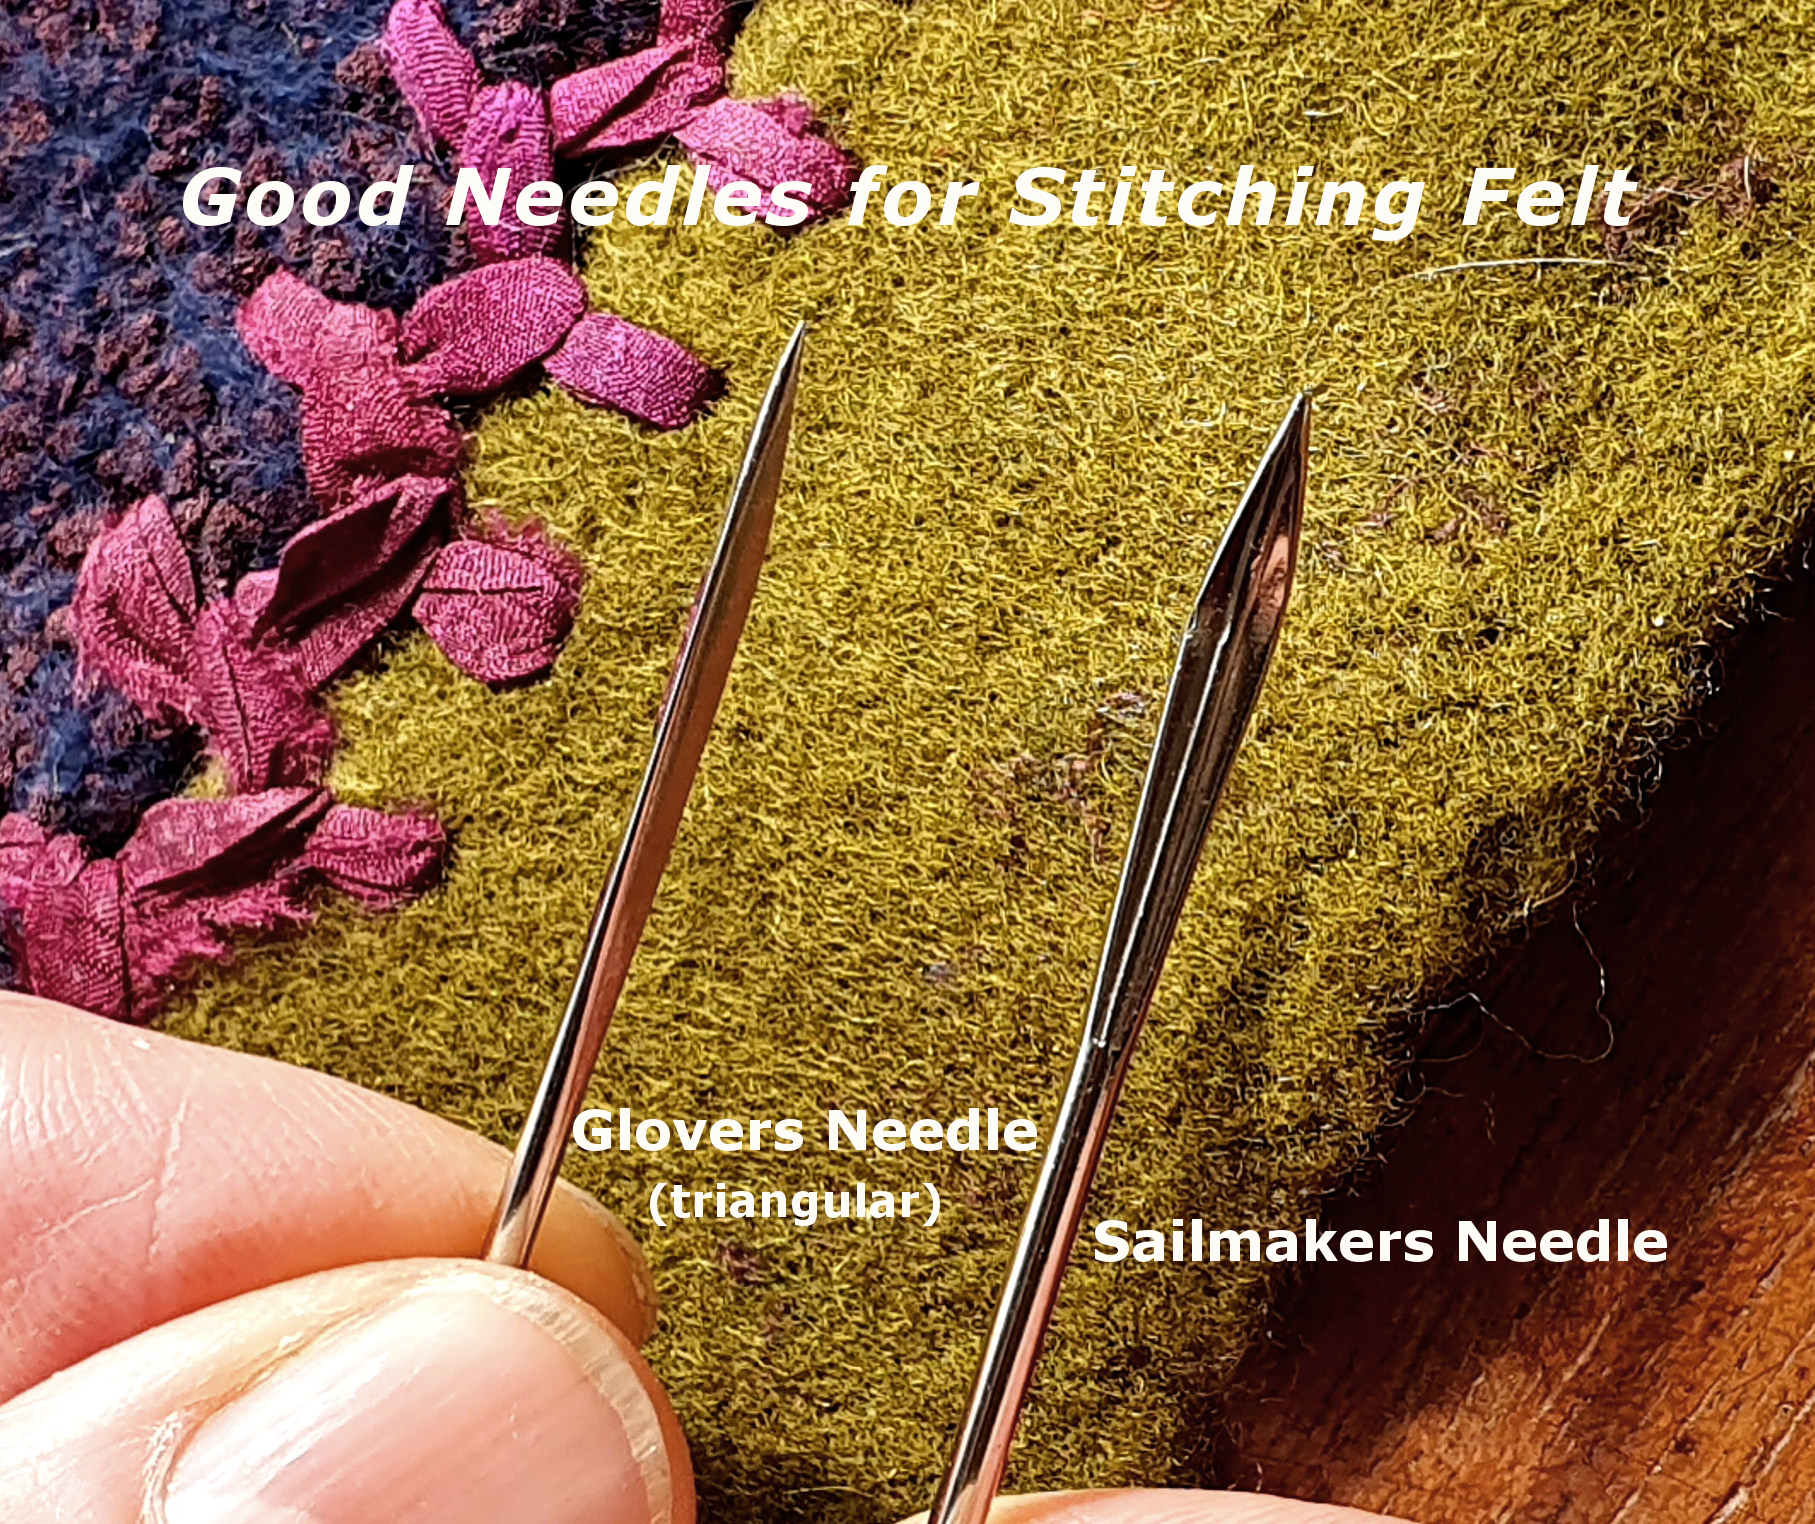
First, one will need a thread. You can experiment with all sorts, but my favorite is to make my own Silk Fabric Thread. For full instructions click here. Second, one needs a needle. If you are using the Silk Fabric Thread a large eyed needle will needed. If you are stitching onto felt I would suggest a large triangular shaped Glover’s Needle or a Sailmakers needle (the sharper the better). These needles will help you pierce the felt and make a large enough hole for the Silk Fabric Thread to easily pull through.
Now for the Feather Stitch. The drawing below illustrates the basic stitch. Alternate between a stitch on the left (A-B) then one on the right side (C-D) of the join. I don’t tie knots but make a simple backstitch to start the thread. Felt is wonderful because you can also hide loose ends inside the felt itself. I find it useful to first make a simple stitch straight across the join to hold the two piece together and then sew your first Feather Stitch.
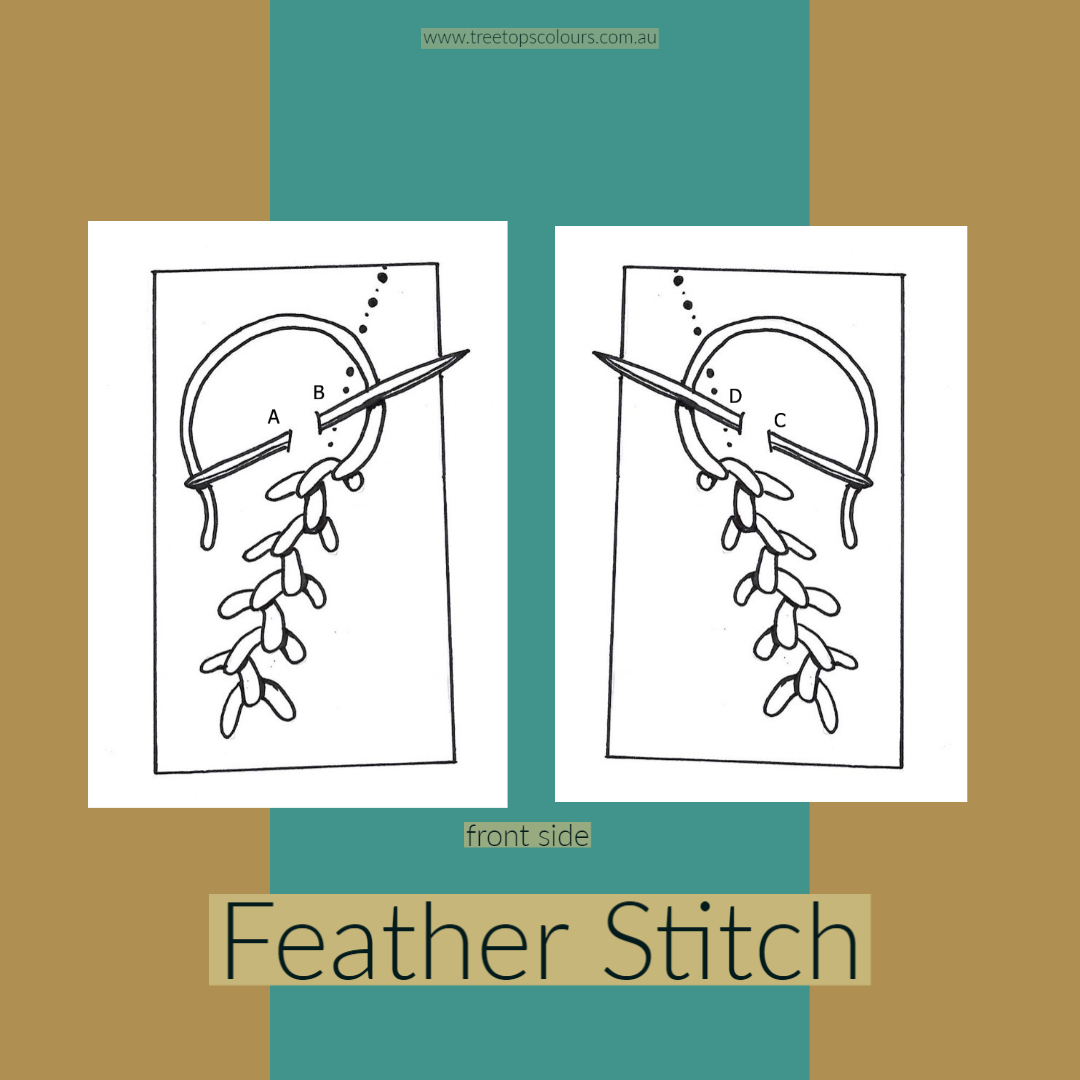
Watch this simple video for more help.
Now to Lace Up the stitches on the reverse side. Thread your needle with a new strand of thread and secure it with a backstitch. You will pulling your thread through the existing stitch from the outside of the stitch (A) towards the middle seam and then around the outside through stitch (B) towards the middle seam. Be sure always come from the outside of the stitch towards the middle seam. Continue ‘Lacing Up’ all the stitches on the reverse side pulling as tightly as needed to make the seam join secure. Now iron the stitch flat. It always looks better after ironing!

Watch this simple video for more help.
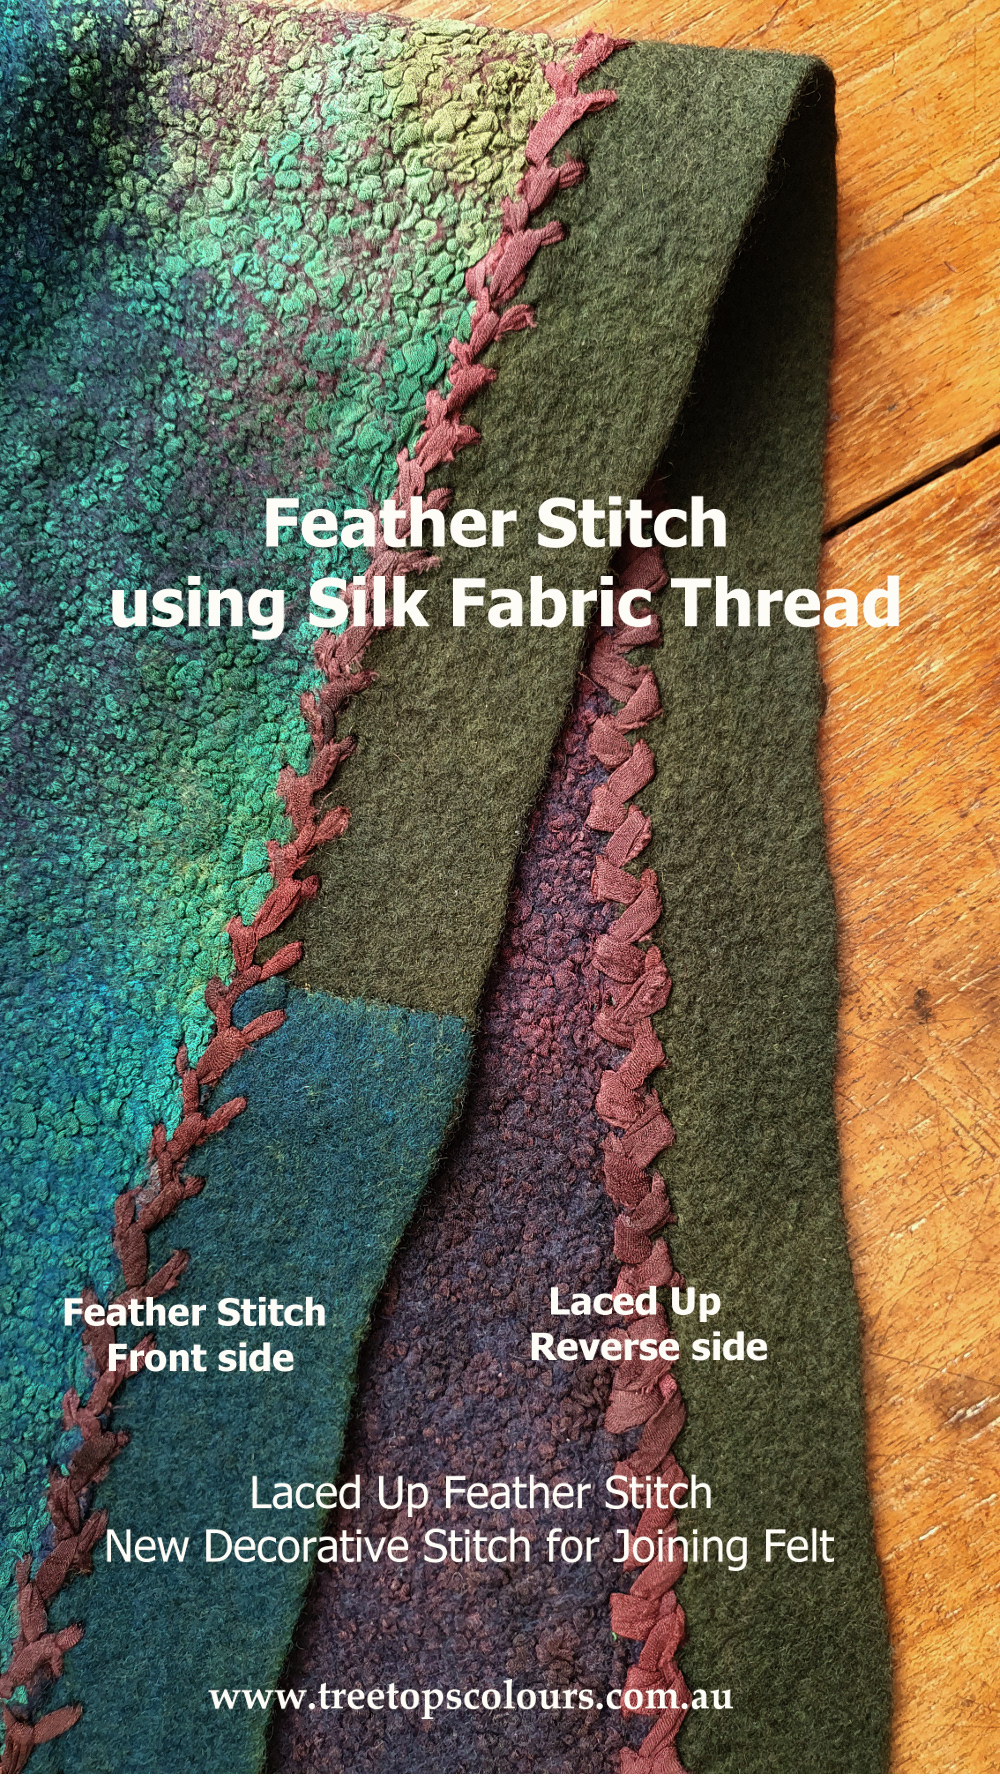
Here is how the stitch looks joining two pieces of Nuno felt together. The Feather Stitch on the front side and the Lacing Up on the reverse side.
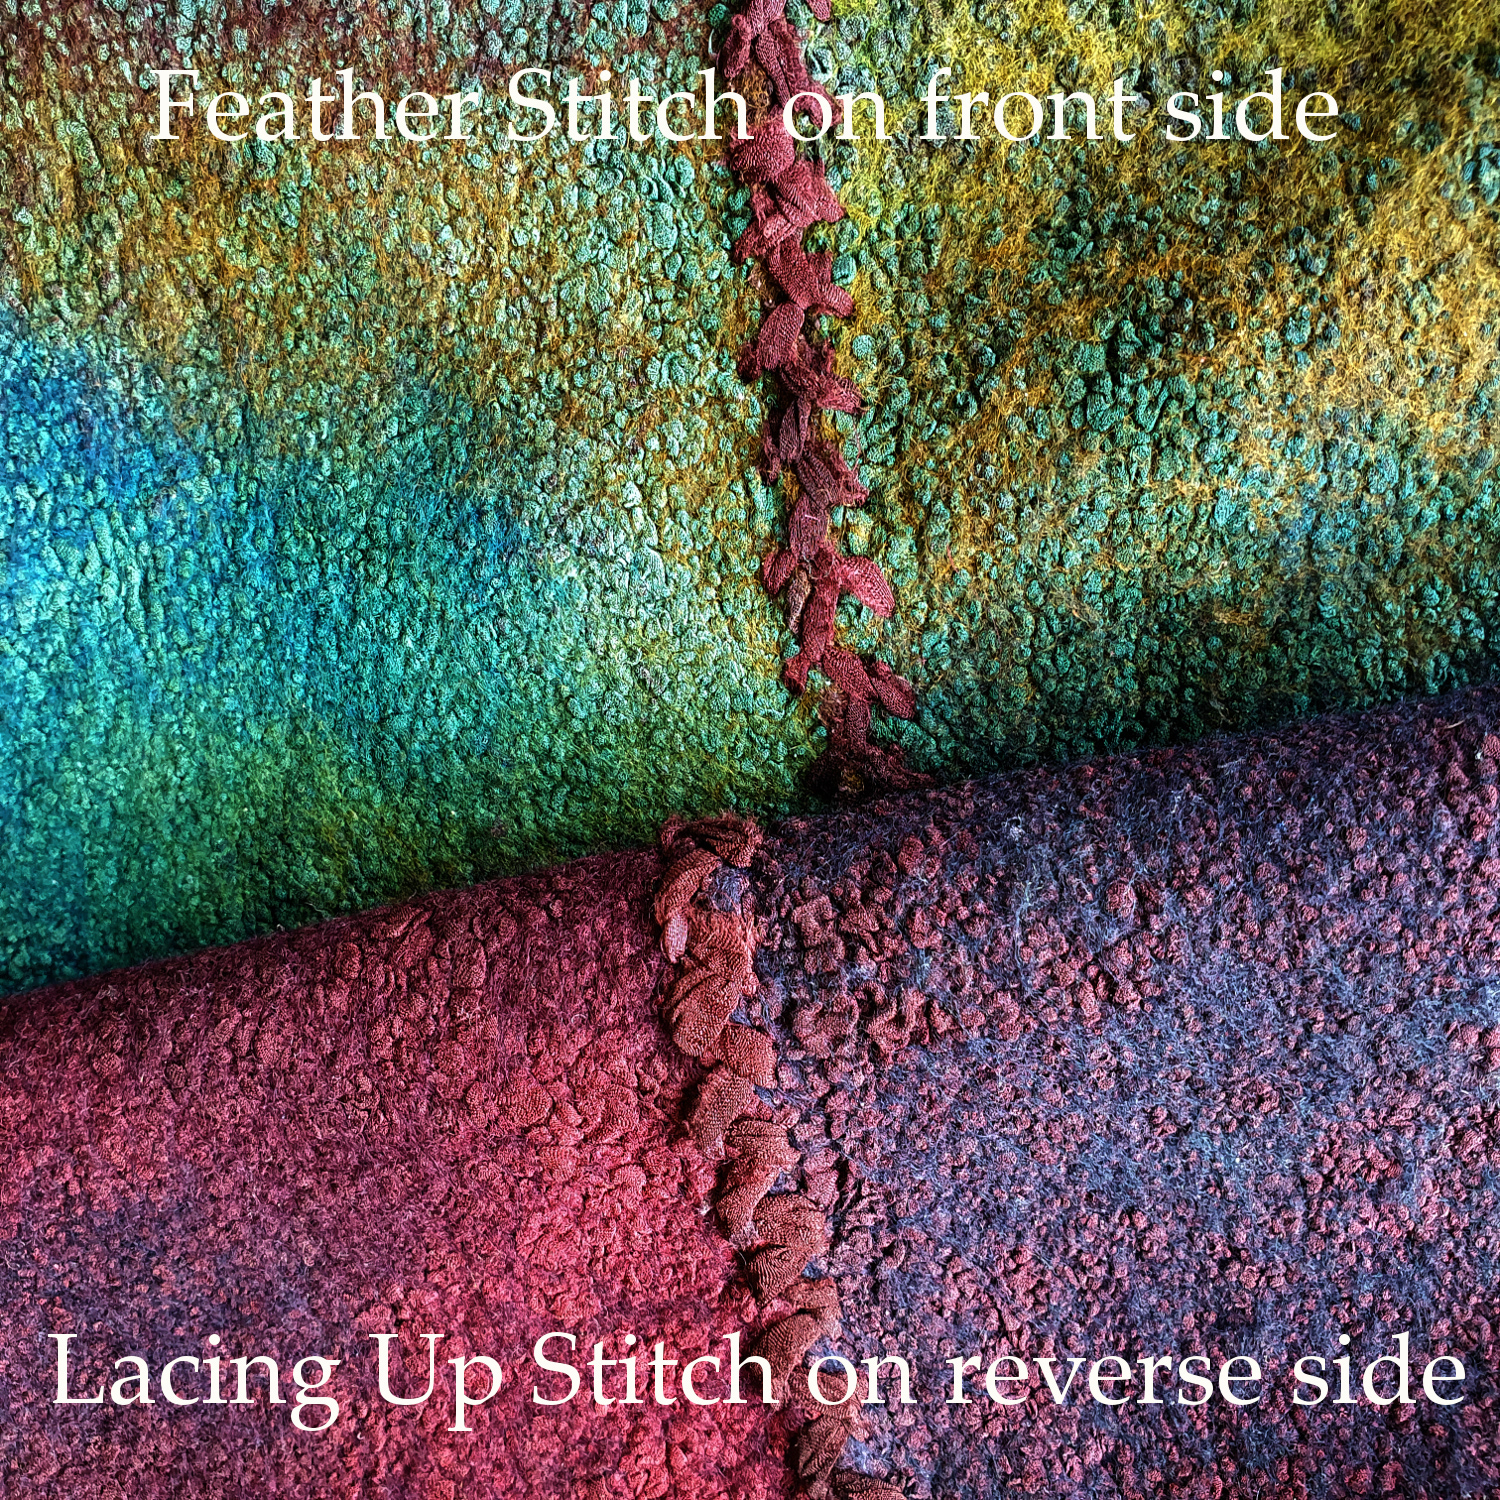
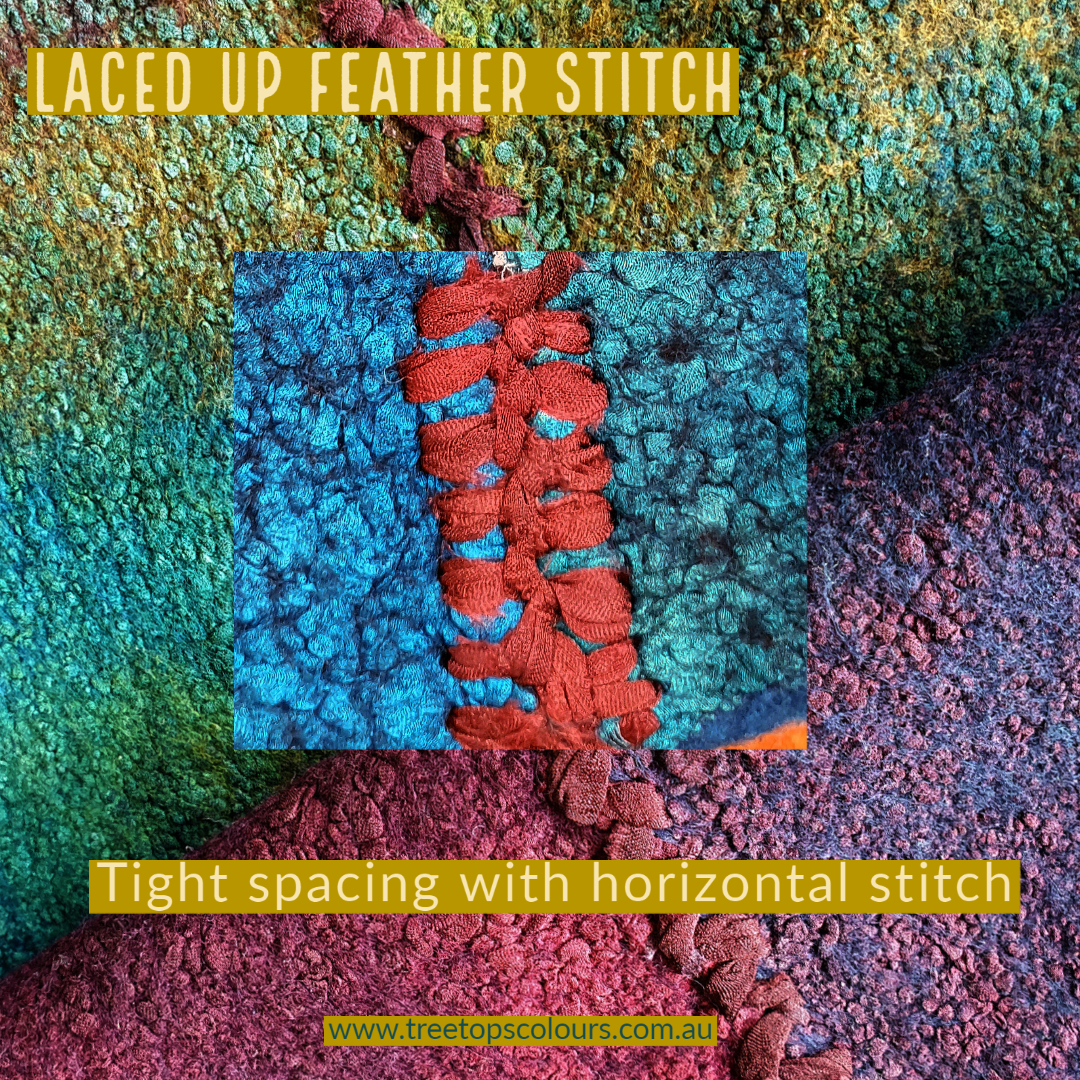
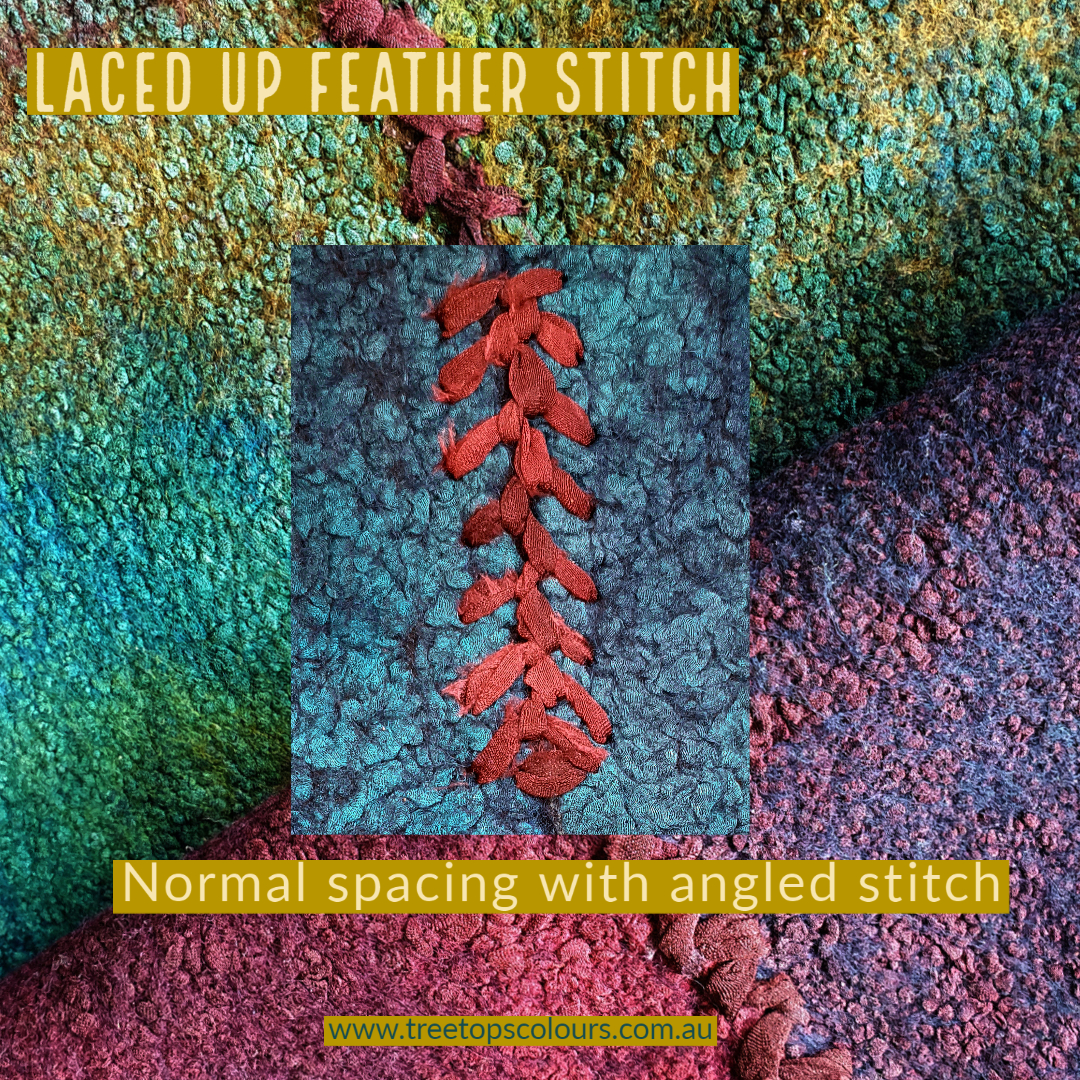
The stitch can look quite different depending on several aspects:
- How thick or thin you rip your silk fabric
- How far apart you space your stitches
- Whether your stitch is angled or straight